Retro Review: HP Omnibook 600C - Part 3
3rd November 2025
Introduction
In Part 2, we took this OmniBook 600C apart and examined it for battery corrosion damage. Fortunately, the majority of it was cosmetic, with just the four battery terminals and one or two other solder pads that looked suspicious. In Part 3 we'll clean it up as best we can, attempt a repair on cracks in the casing, and rebuild it.
The Clean-Up
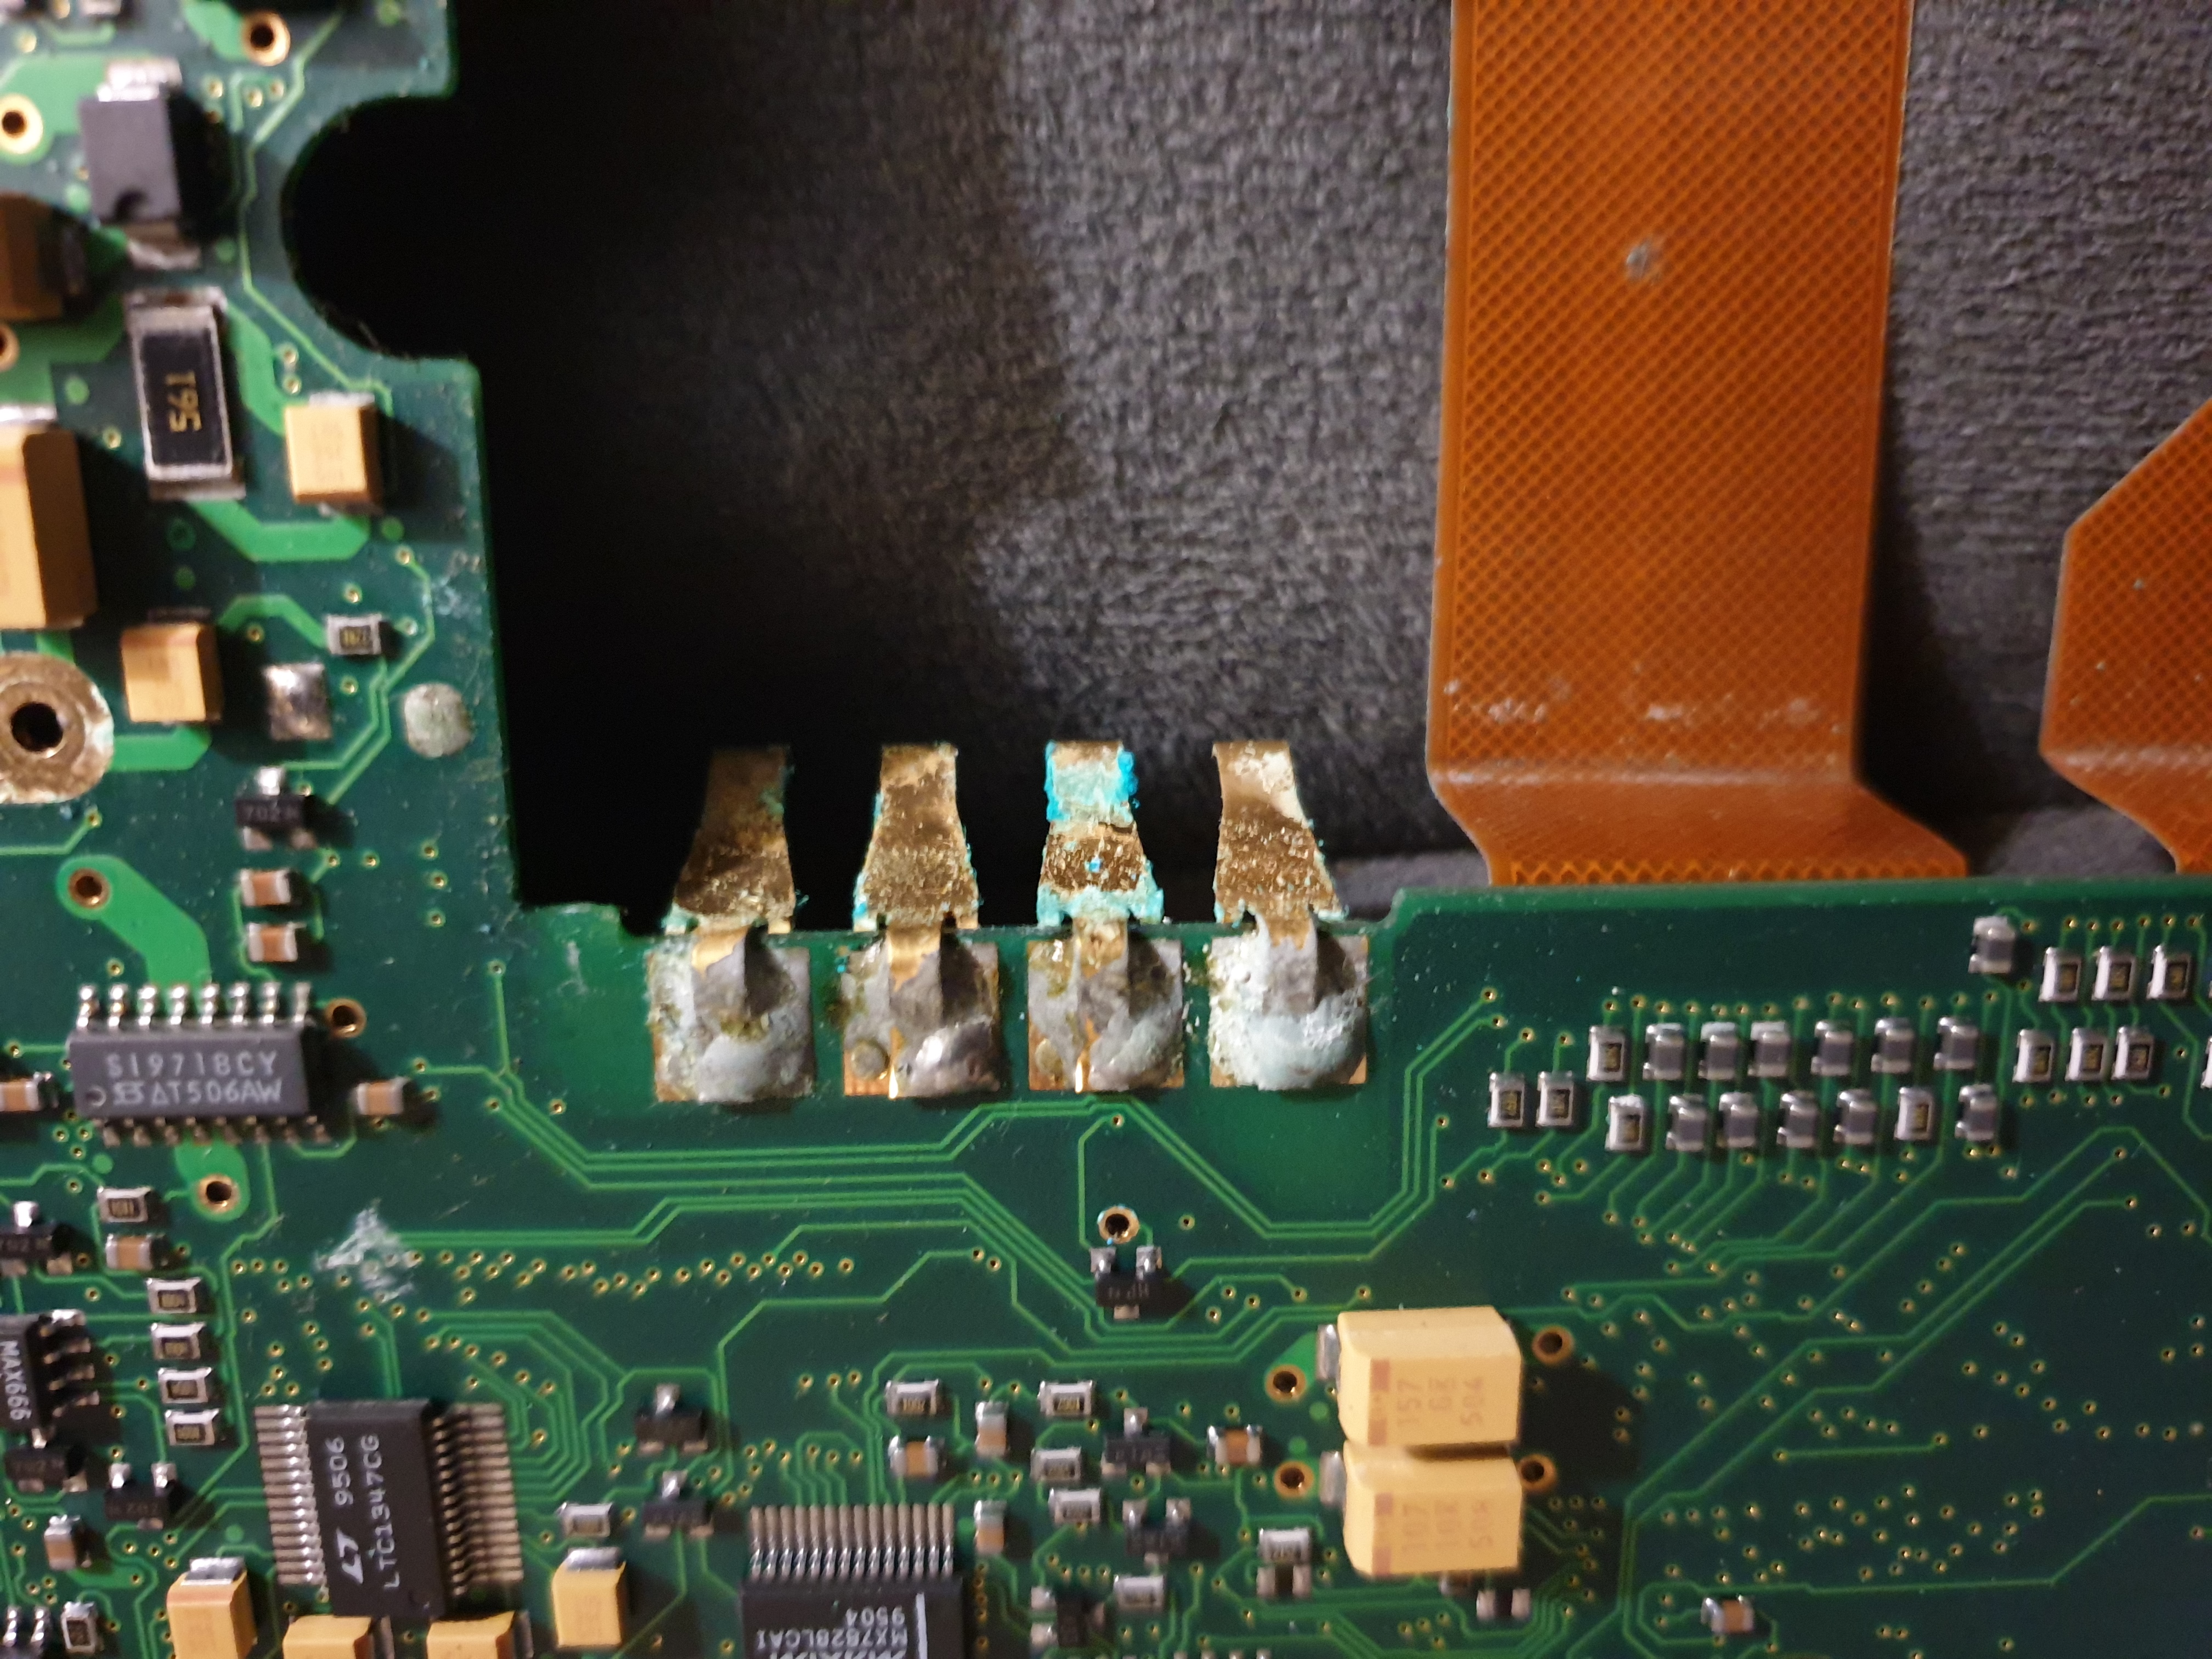
Starting with the motherboard, understandably the battery pins took the brunt of the corrosion. Using a mix of Baking Soda and warm water to neutralise, I scrubbed these thoroughly, as well as the surrounding area. After drying, I then scrubbed the area again using 100% IPA. After allowing to dry it's looking quite a bit better:


Top side of battery terminals - (Left) before, and (Right) after - I'll give these another pass
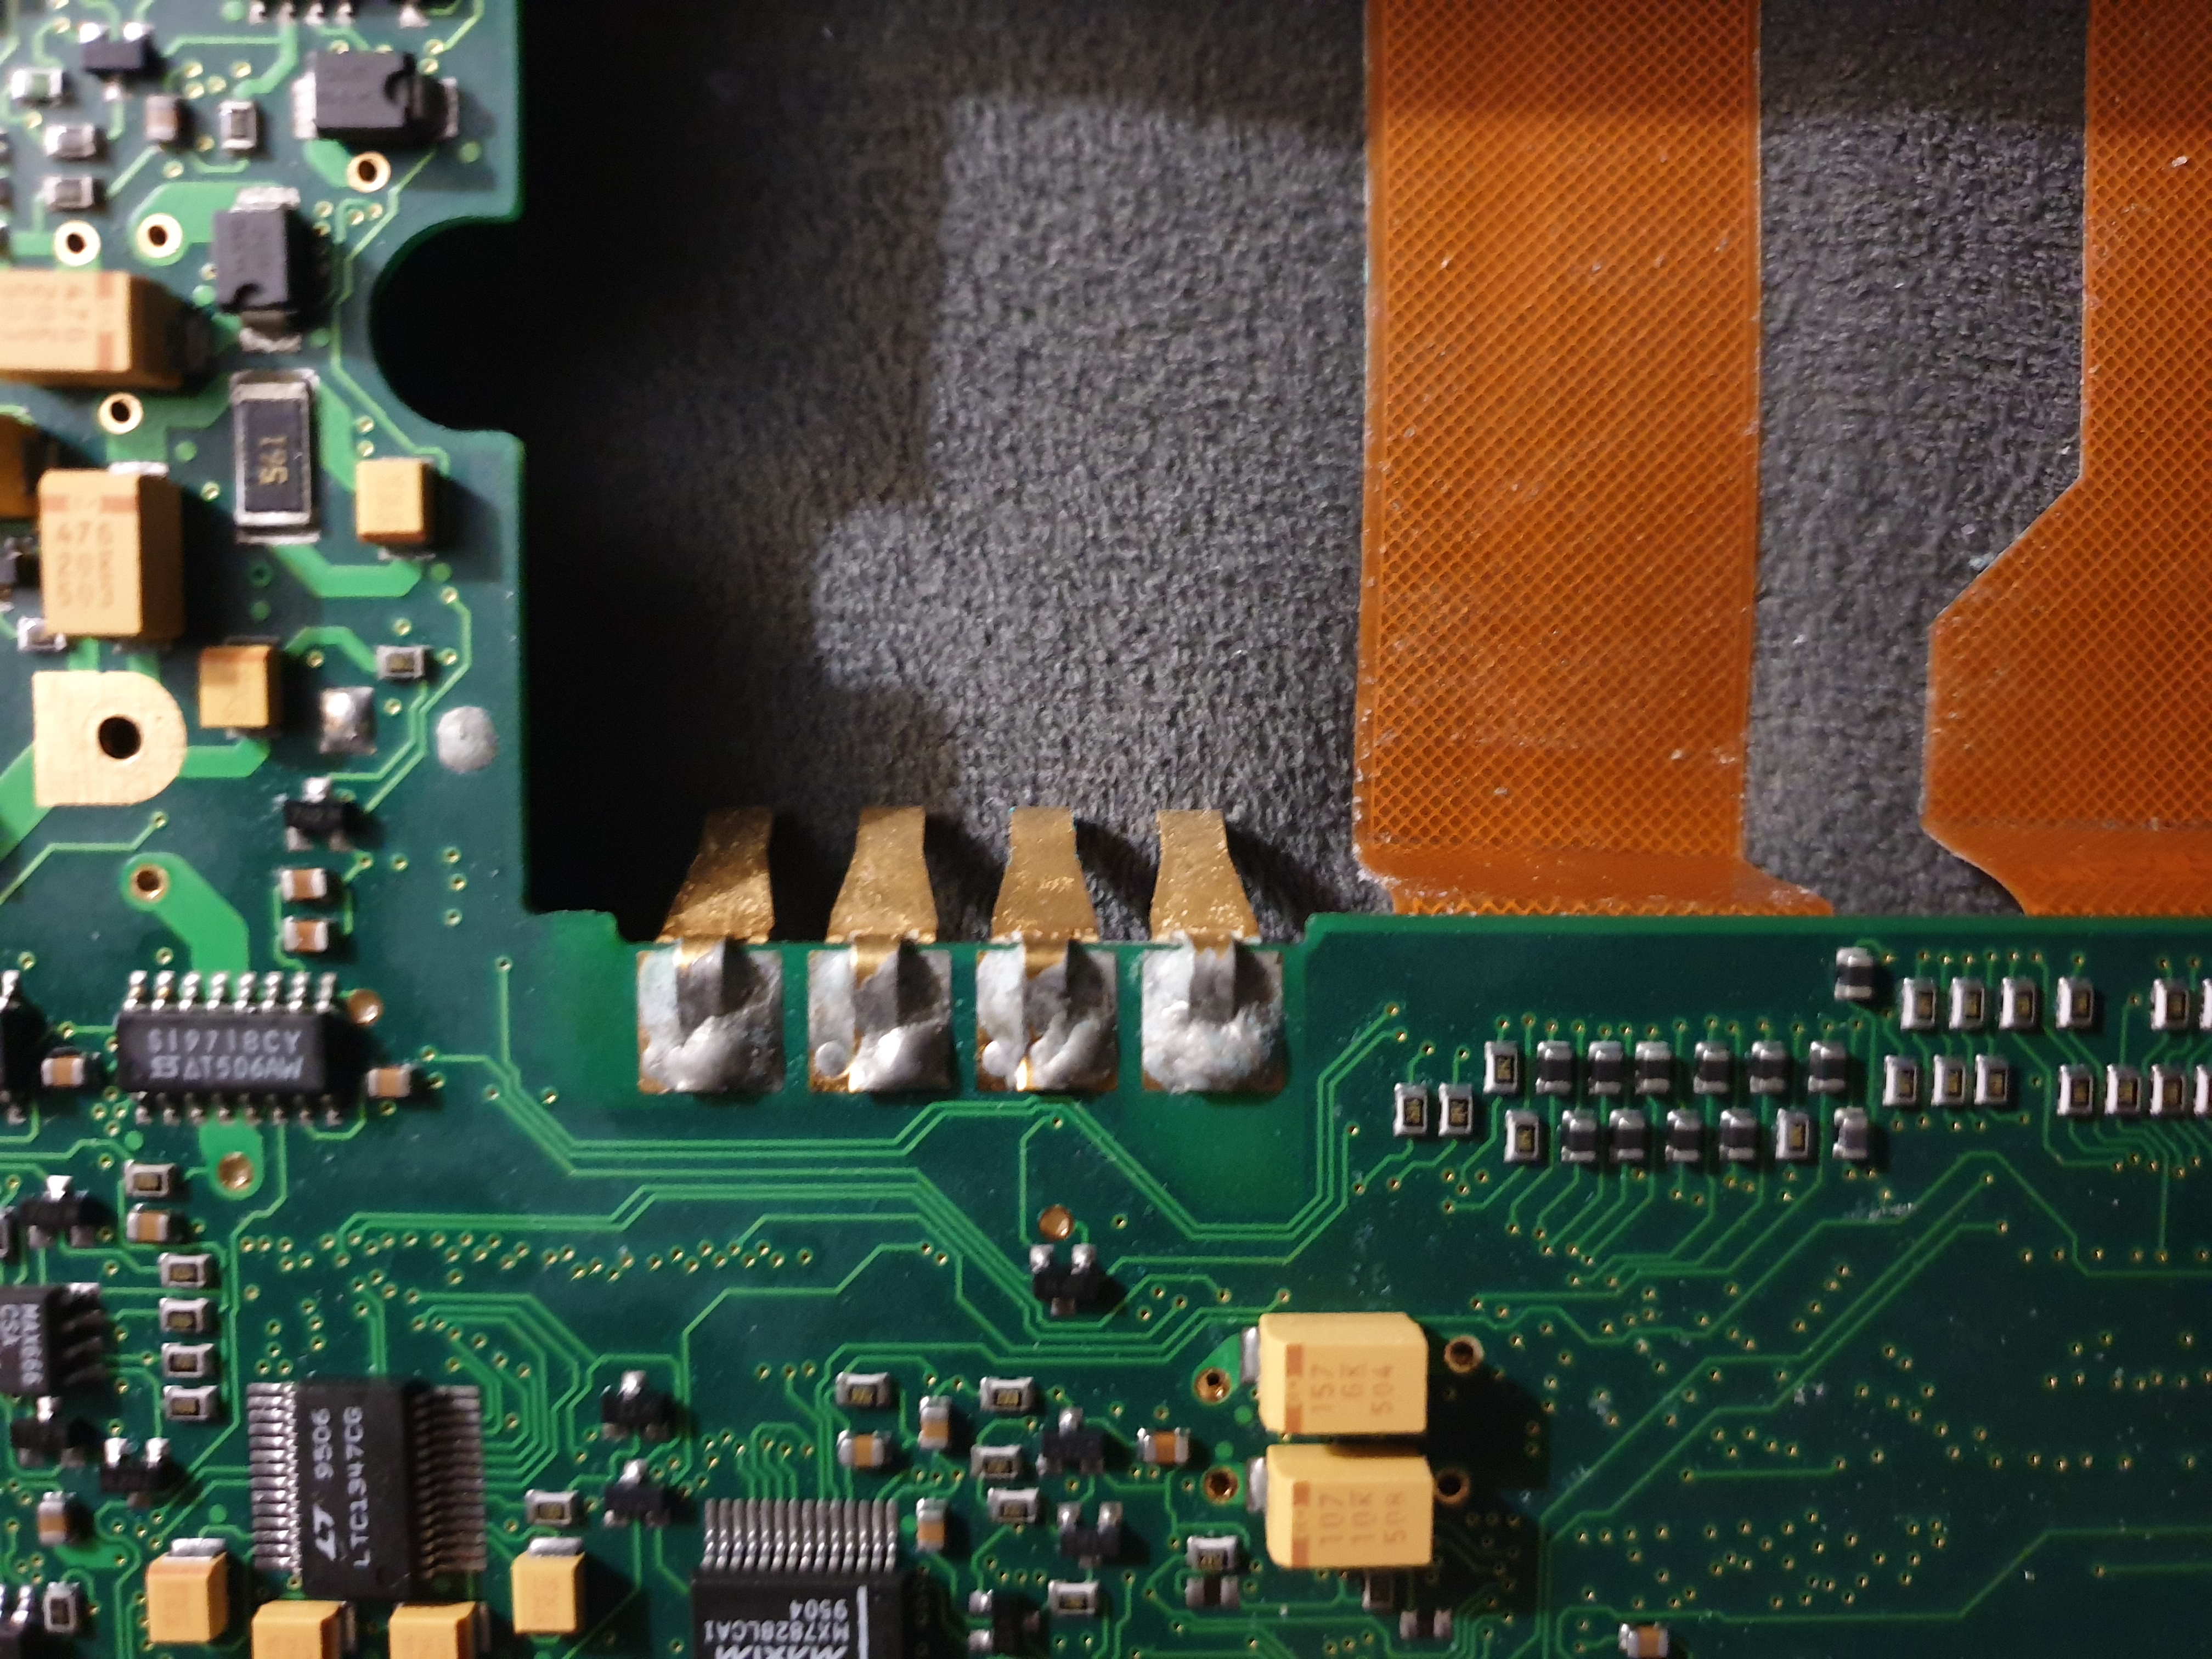
Underside of battery terminals - (Left) before, and (Right) after - much better!
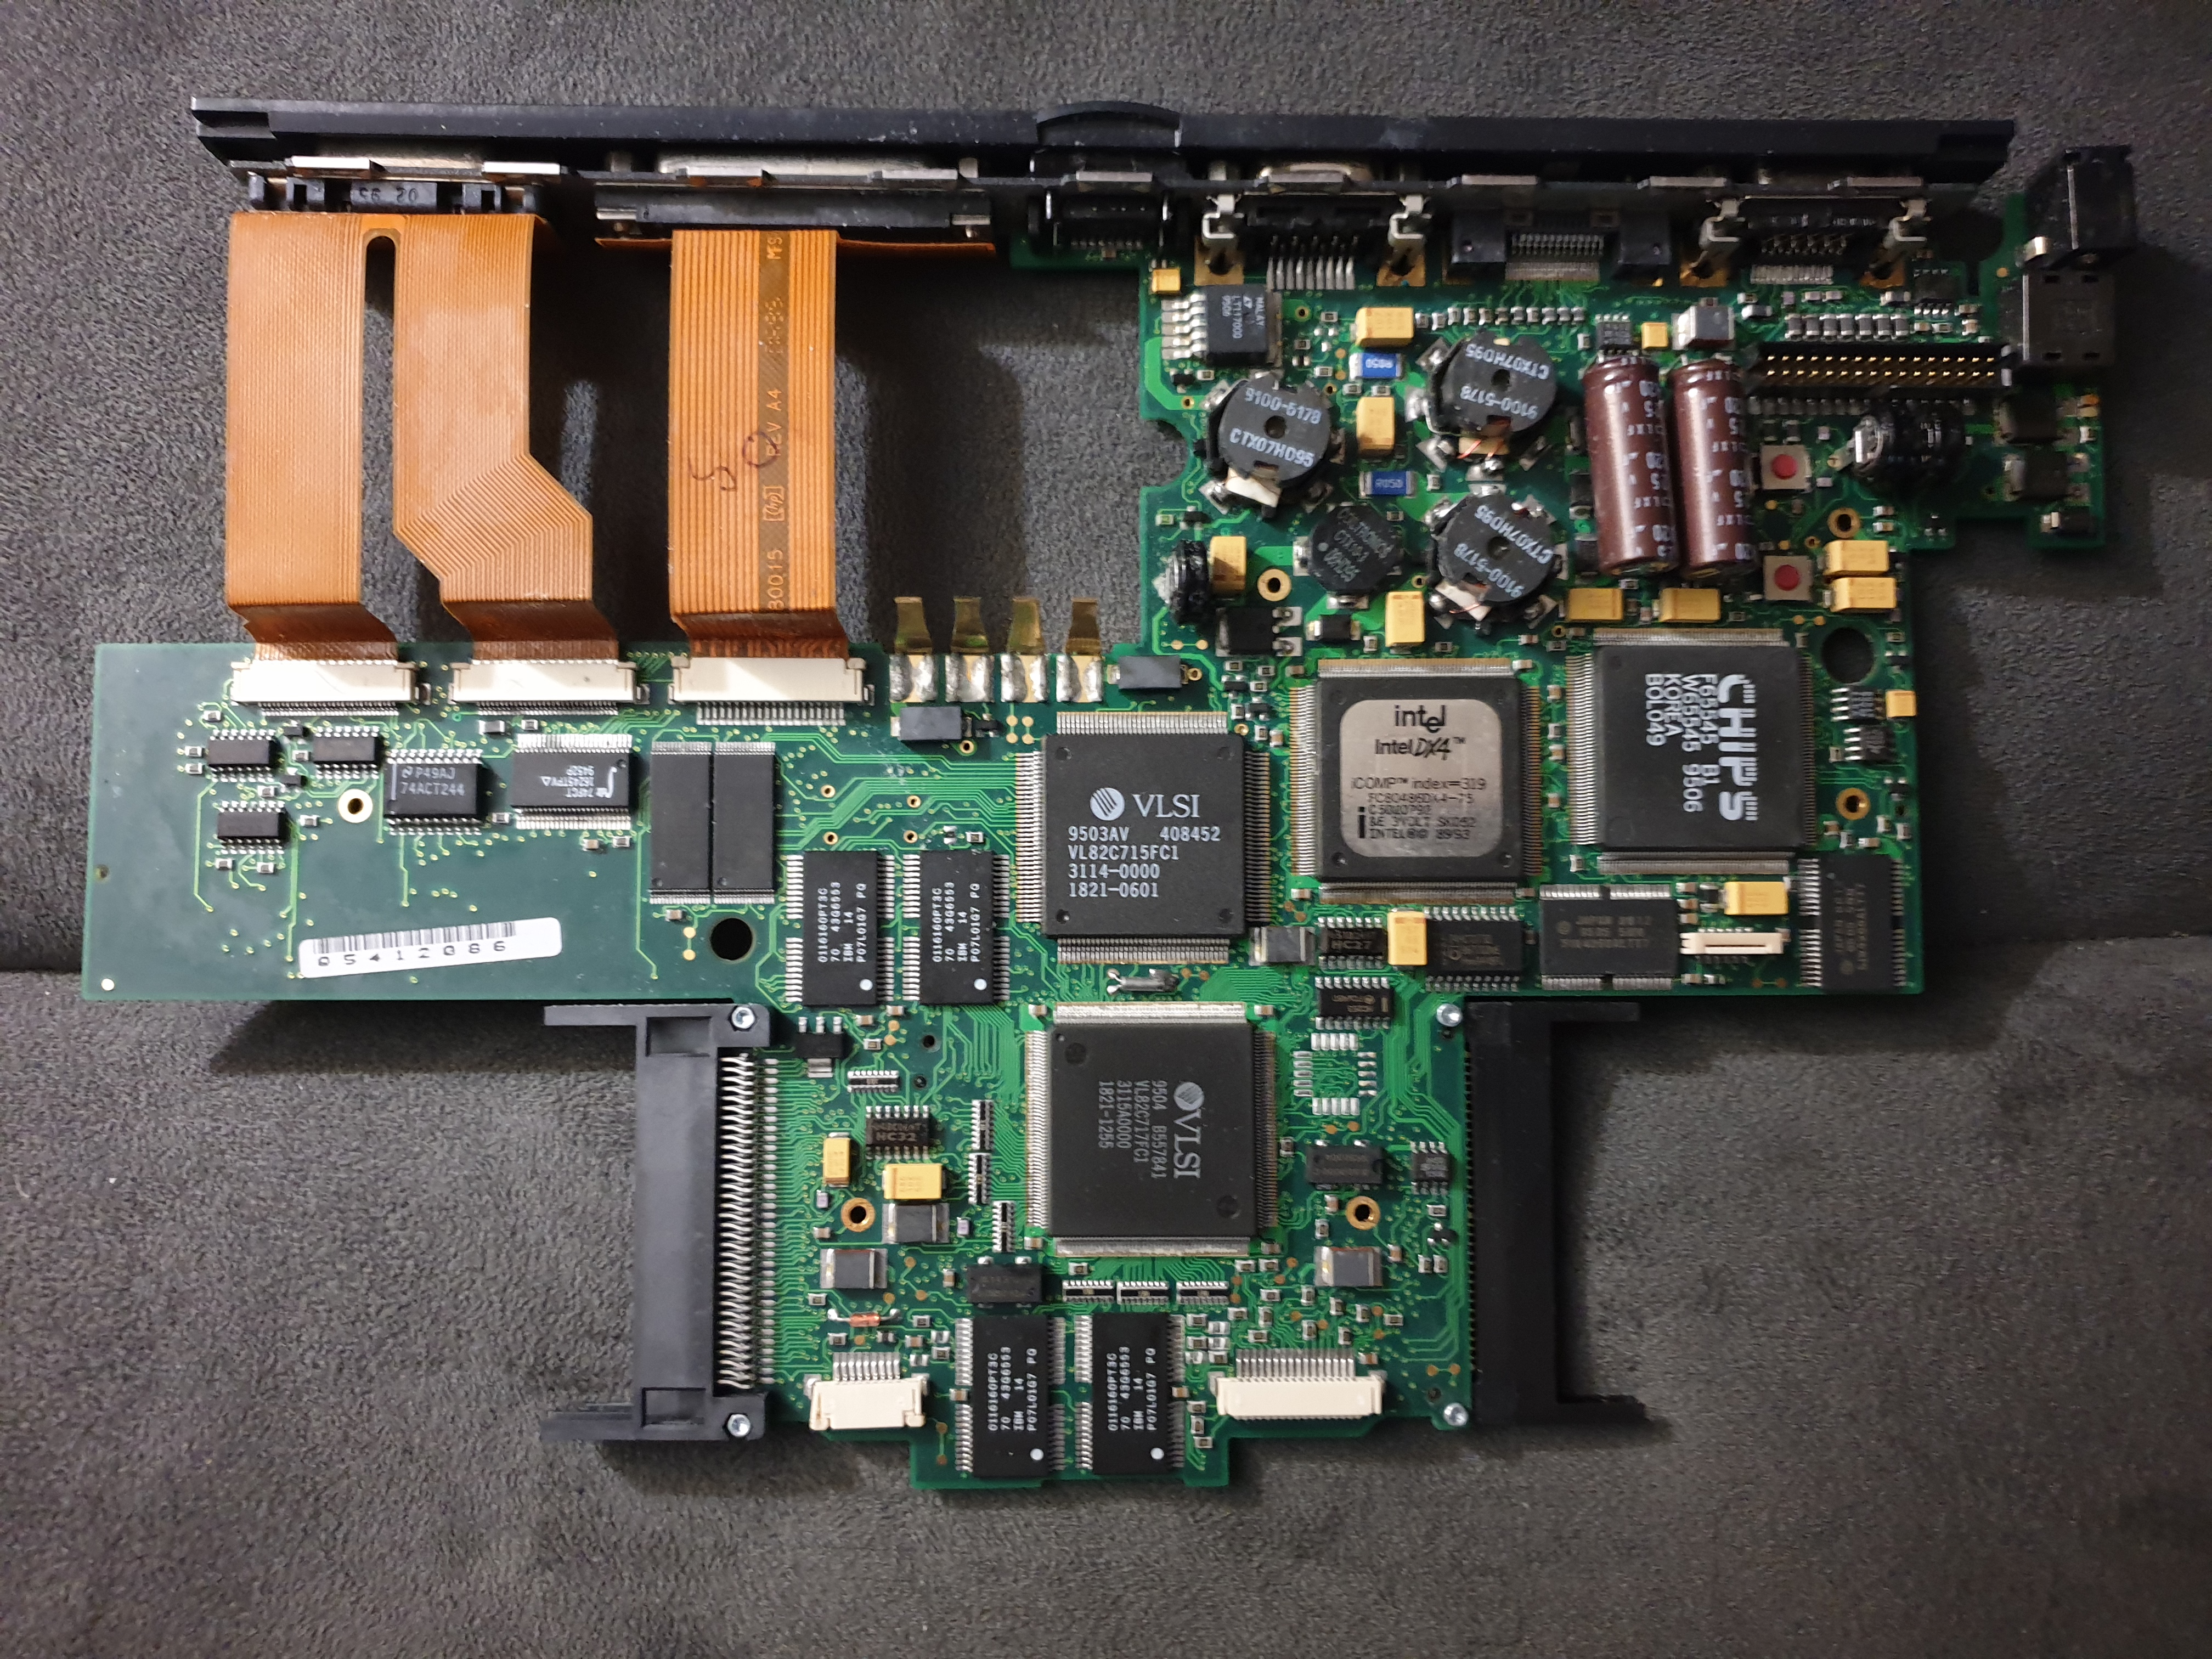
The motherboard all cleaned up and ready to reinstall
The bottom tray had large areas of corrosion dotted around. Unfortunately, this appears to have permanently stained/eroded the plastic. Still, the entire area got the same treatment as above: Baking soda and warm water, followed by IPA to clean. It's definitely faded what was there before, and the amount of blue/white battery corrosion that came off in both the water and onto the absorbent towels was huge!
The mouse has its own circuit board under the motherboard - this has a clear plastic insulation sheet that sits on top of it - be sure to put this back in place before putting the motherboard back in! The black eject arm can be removed easilly - just unclip the spring cable and pull the eject arm out.
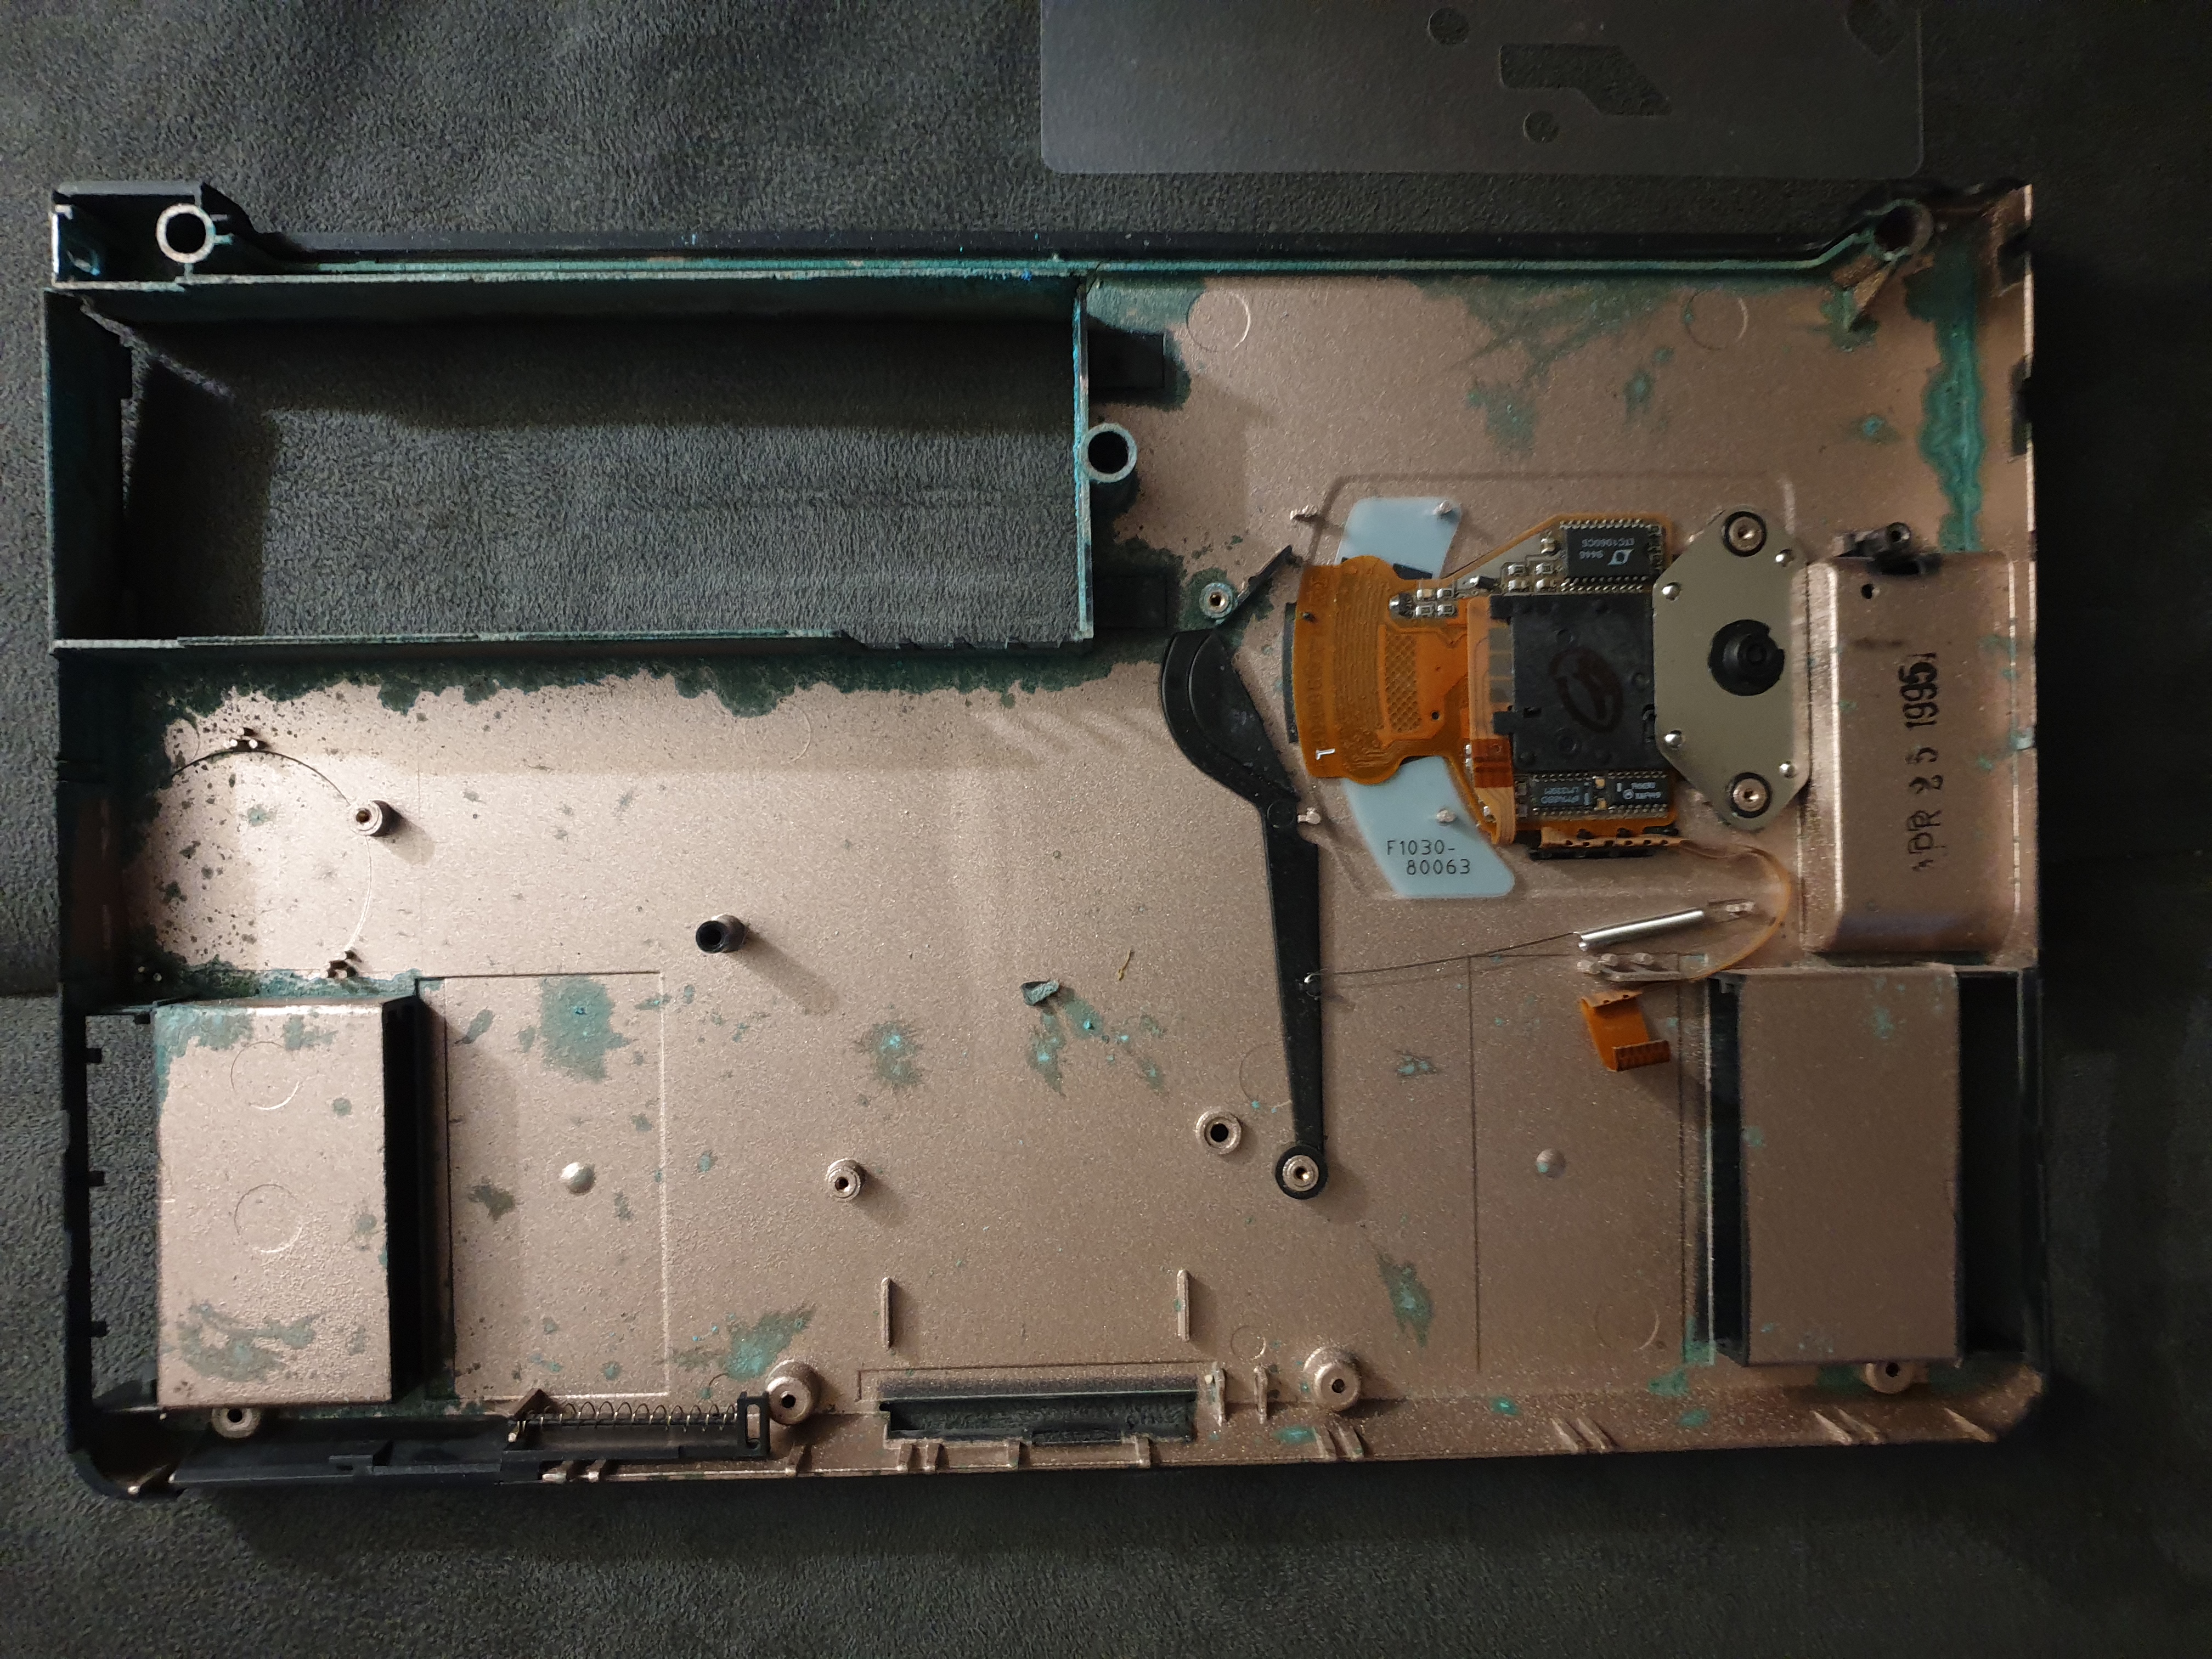
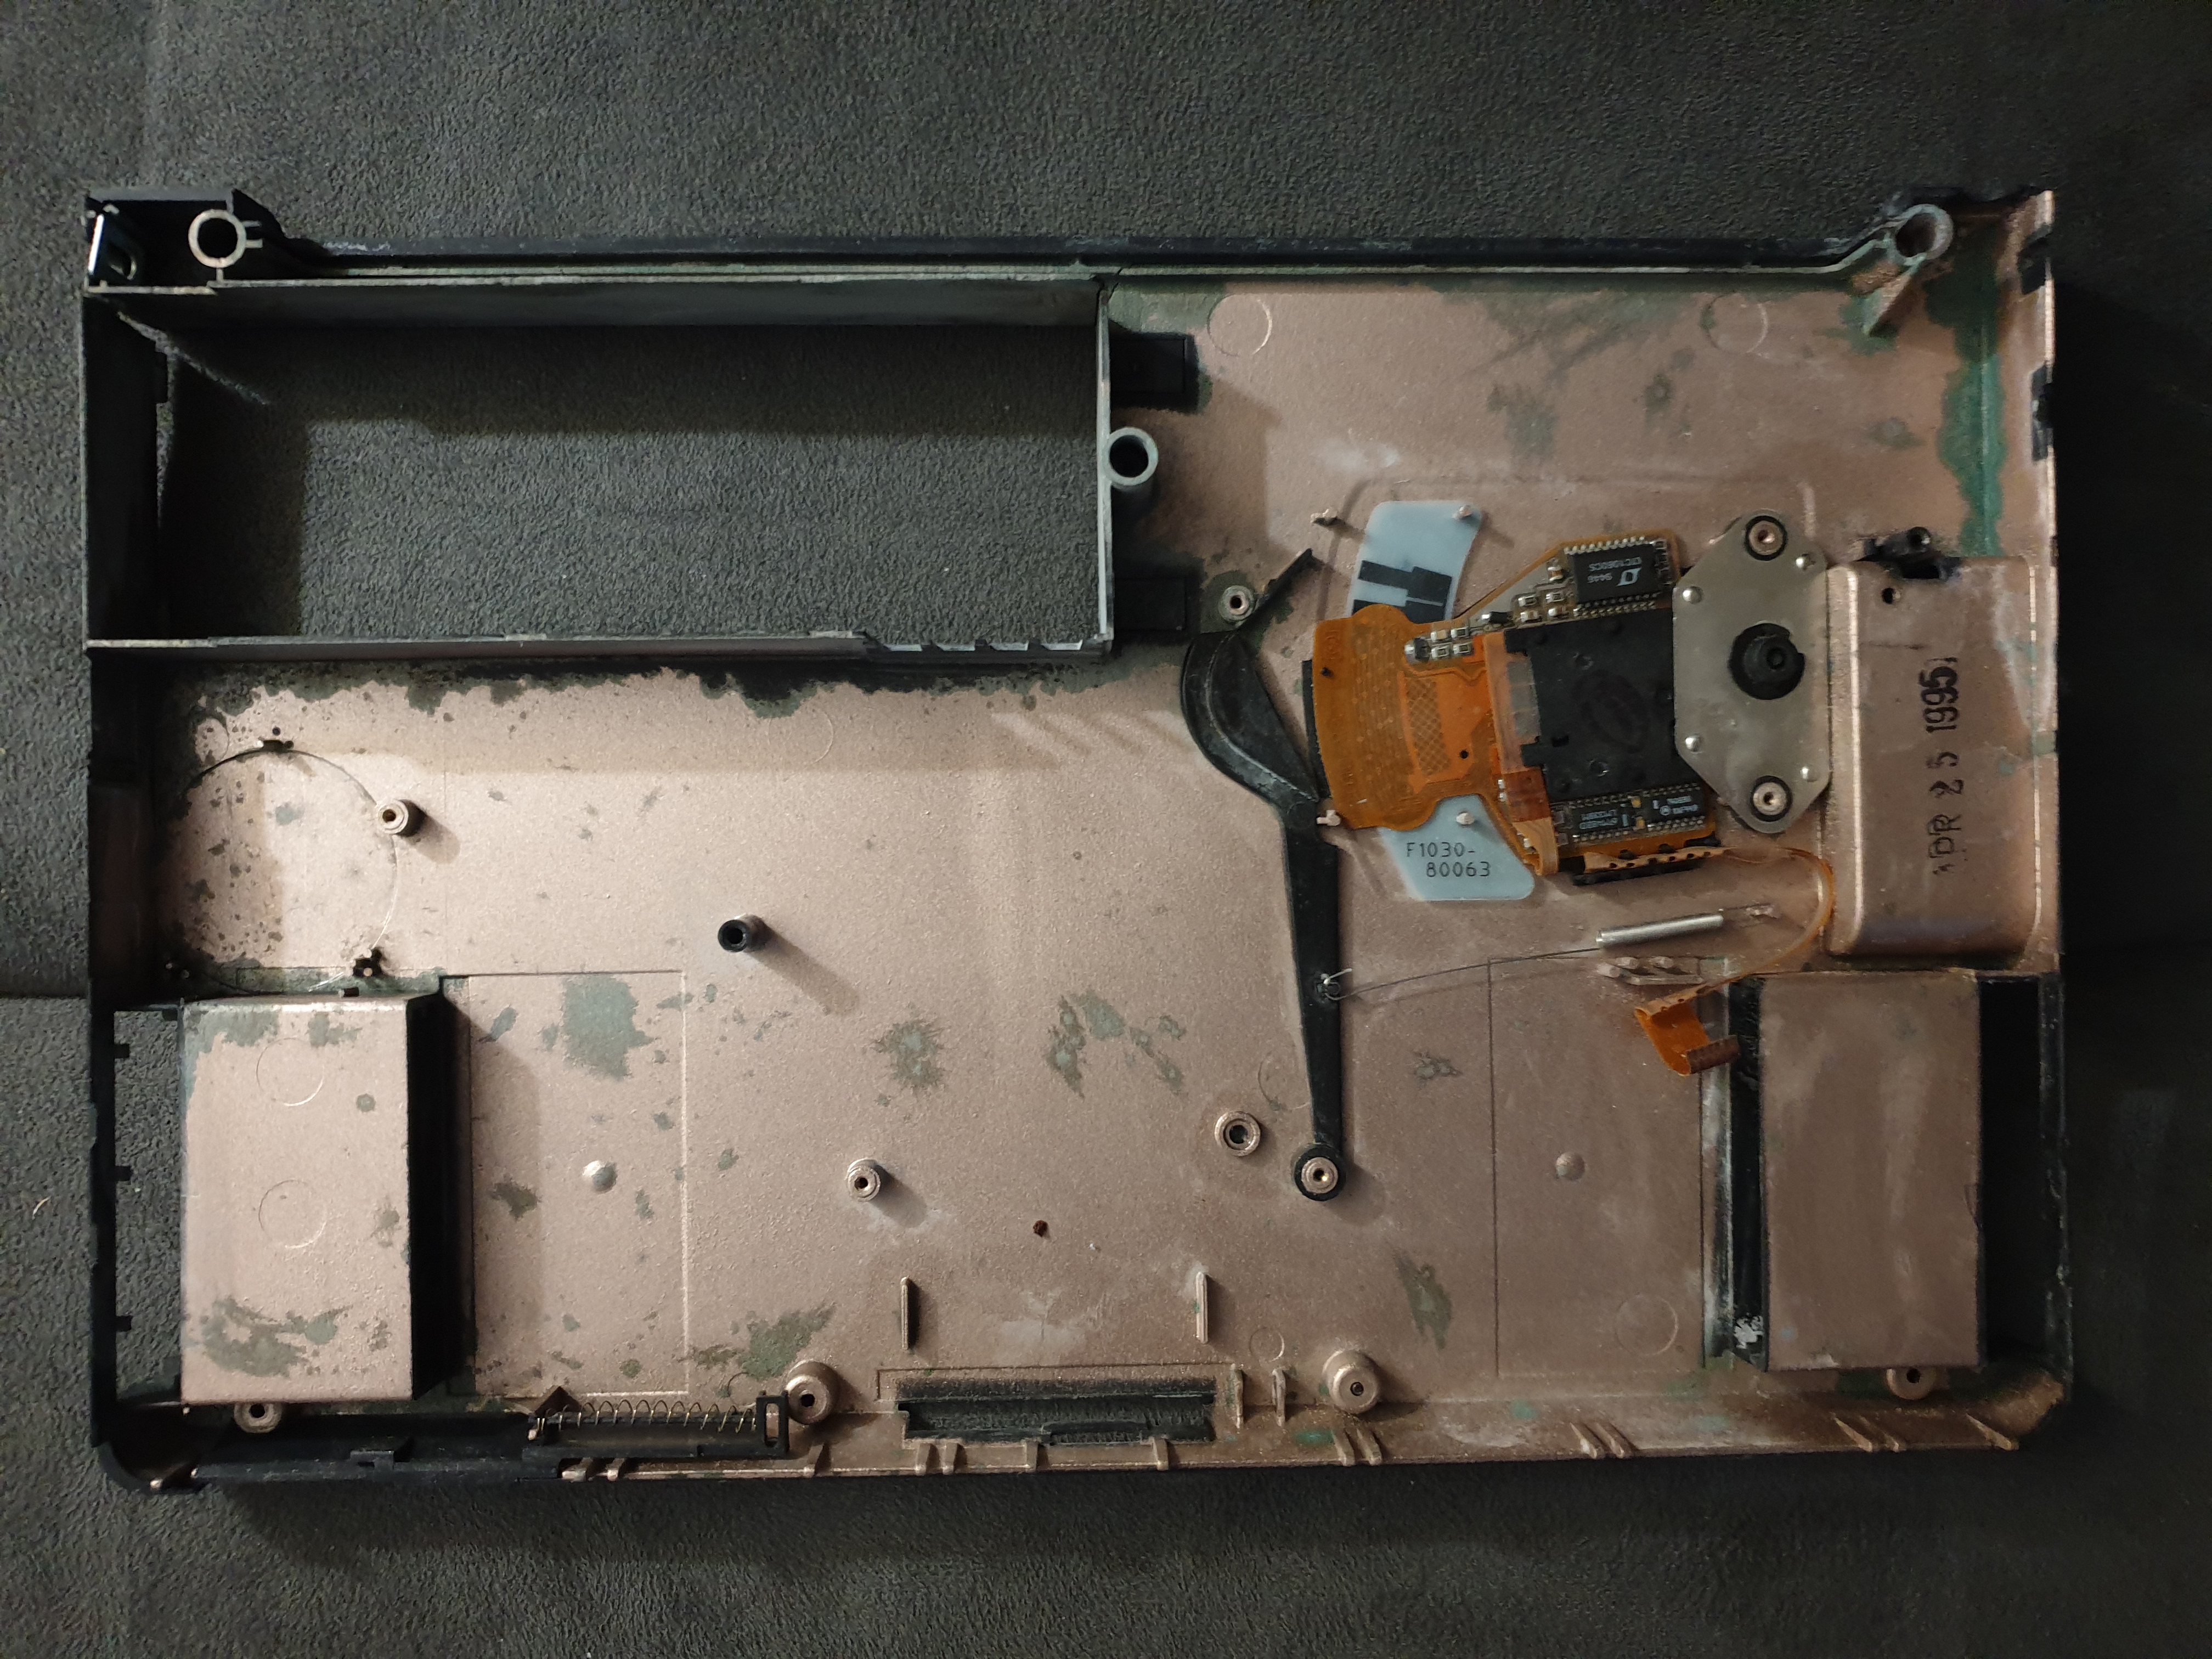
The bottom tray - (Left) before, and (Right) after
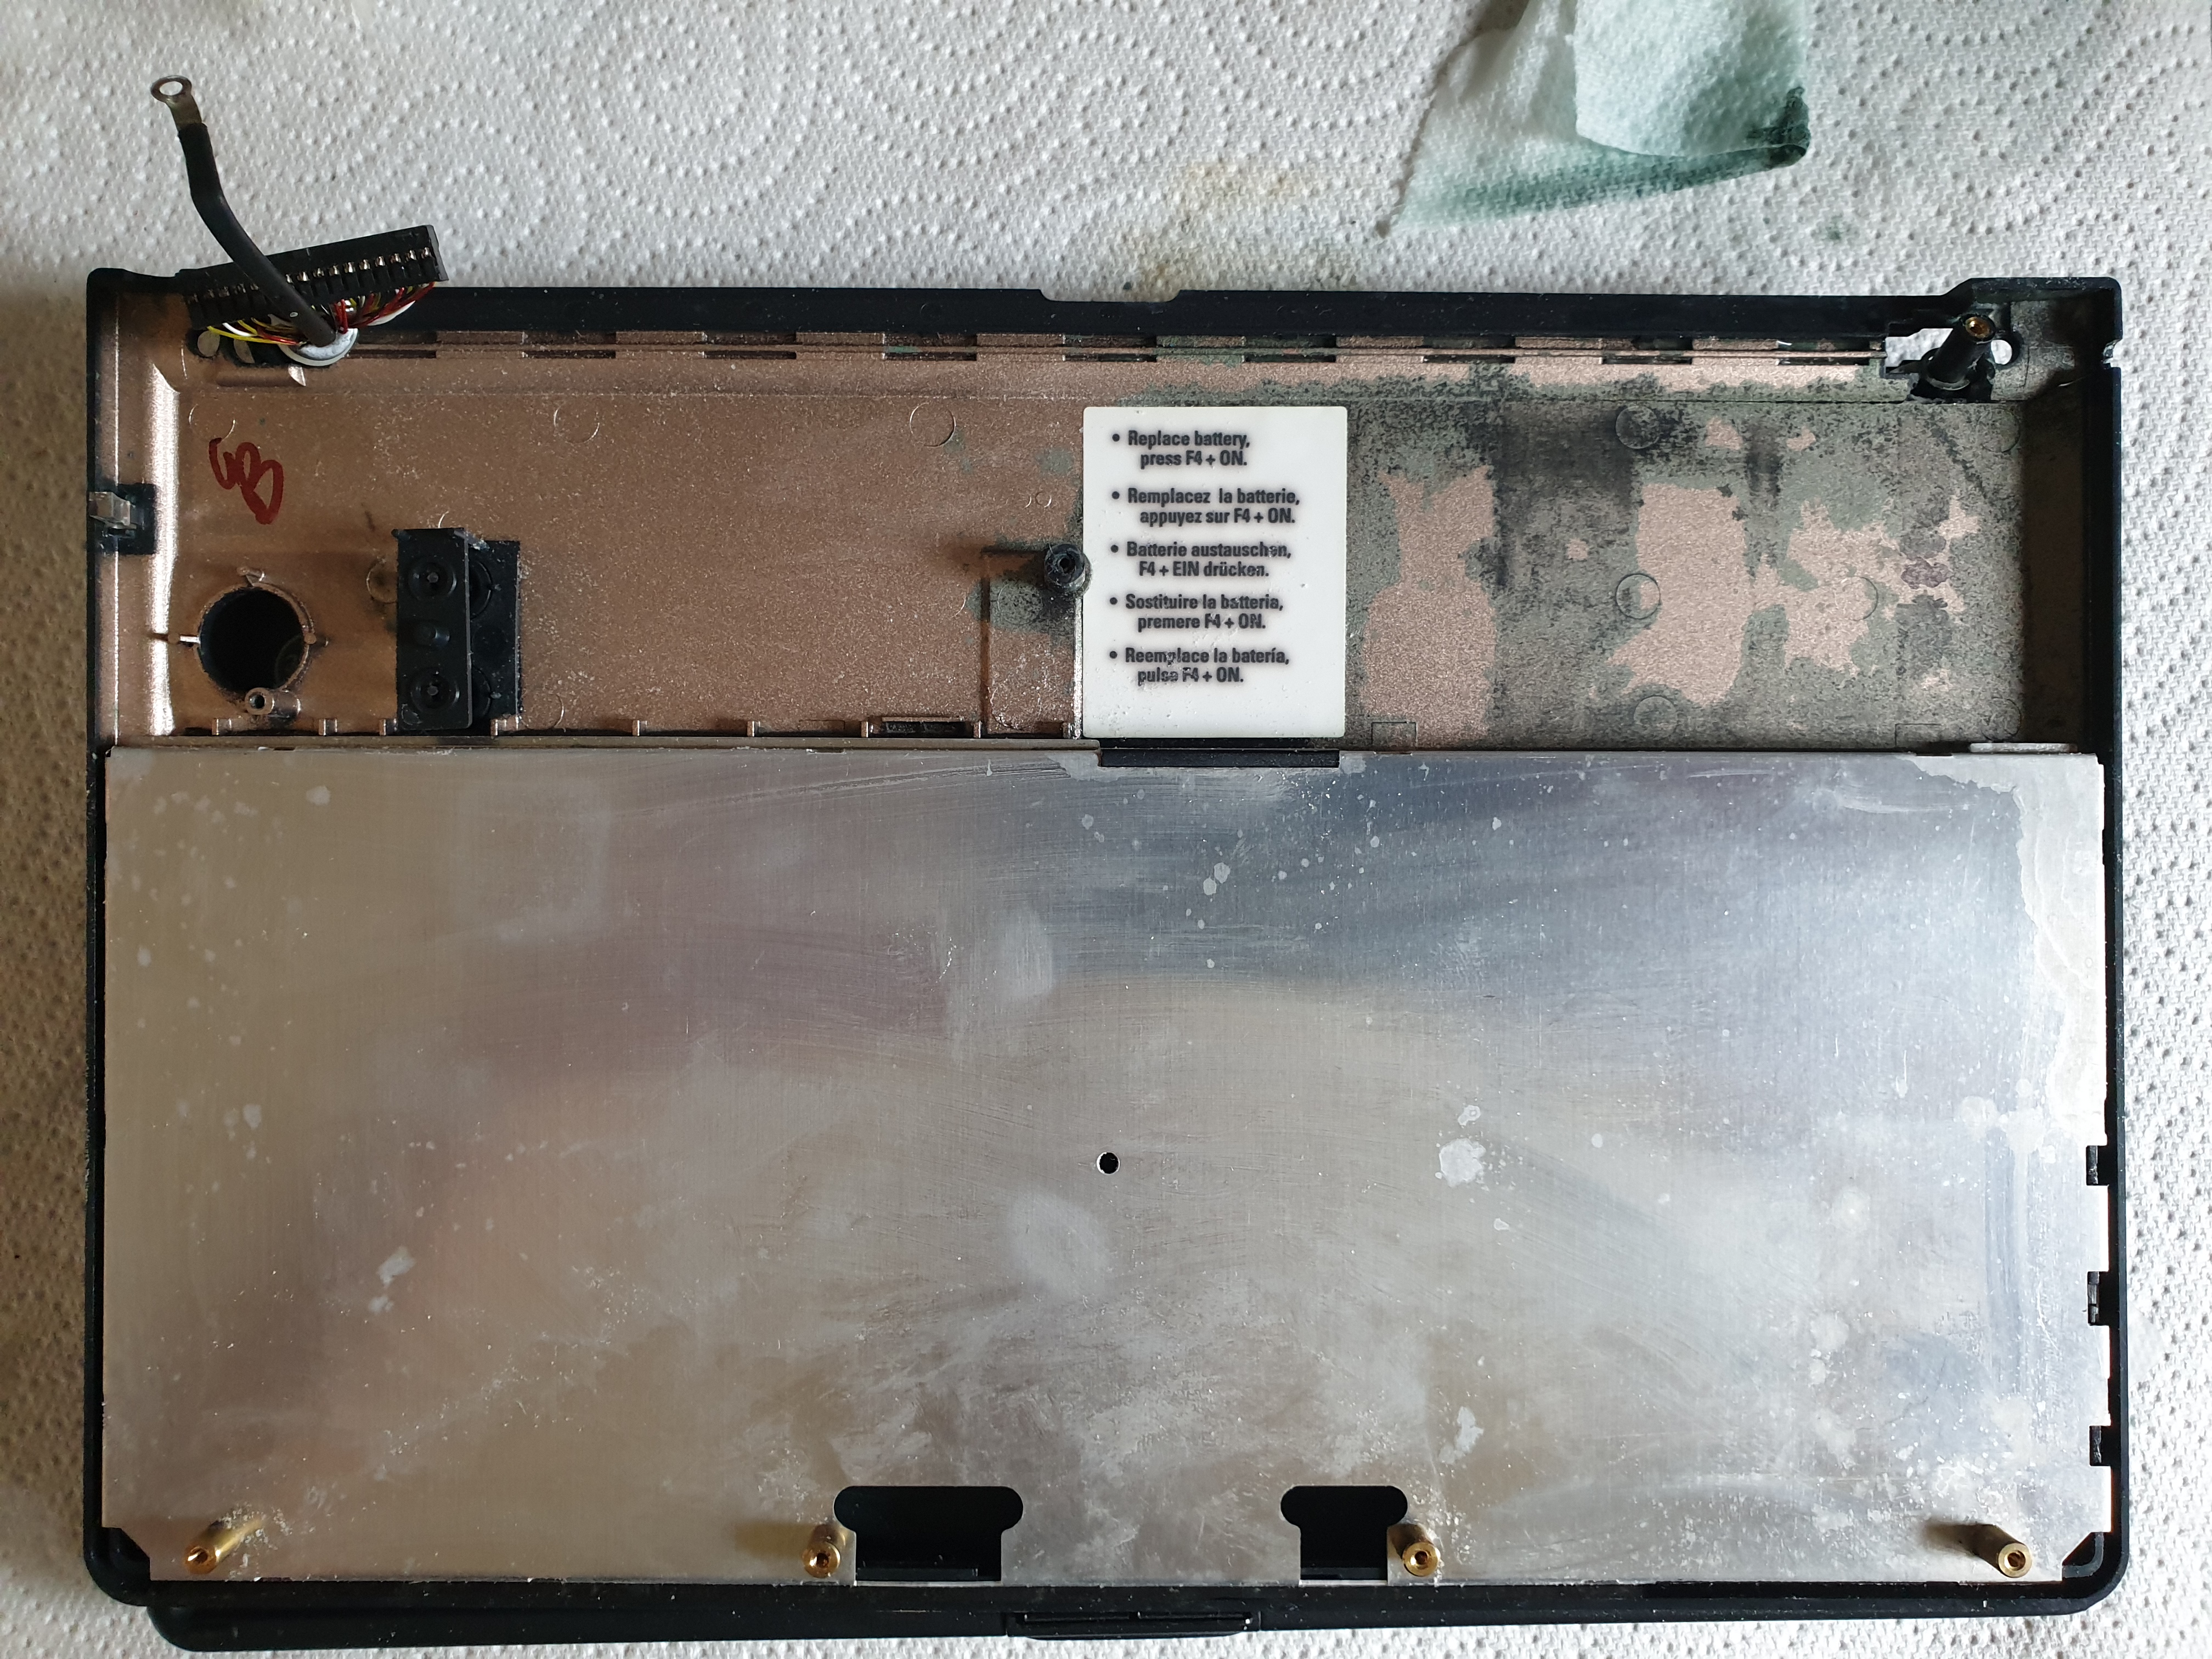
Underside of keyboard after
OK, it's still unsightly, and these plastic/chrome-painted bits would need to be resprayed or perhaps lightly Dremel'd to make them look cosmetically acceptable, but I'm not going to do that.
The final step is to repair all the cracks in the plastic - the good news is that nothing is actually broken off, though the area around the left hinge where the battery compartment is, is really bad.
A couple of things to watch out for:
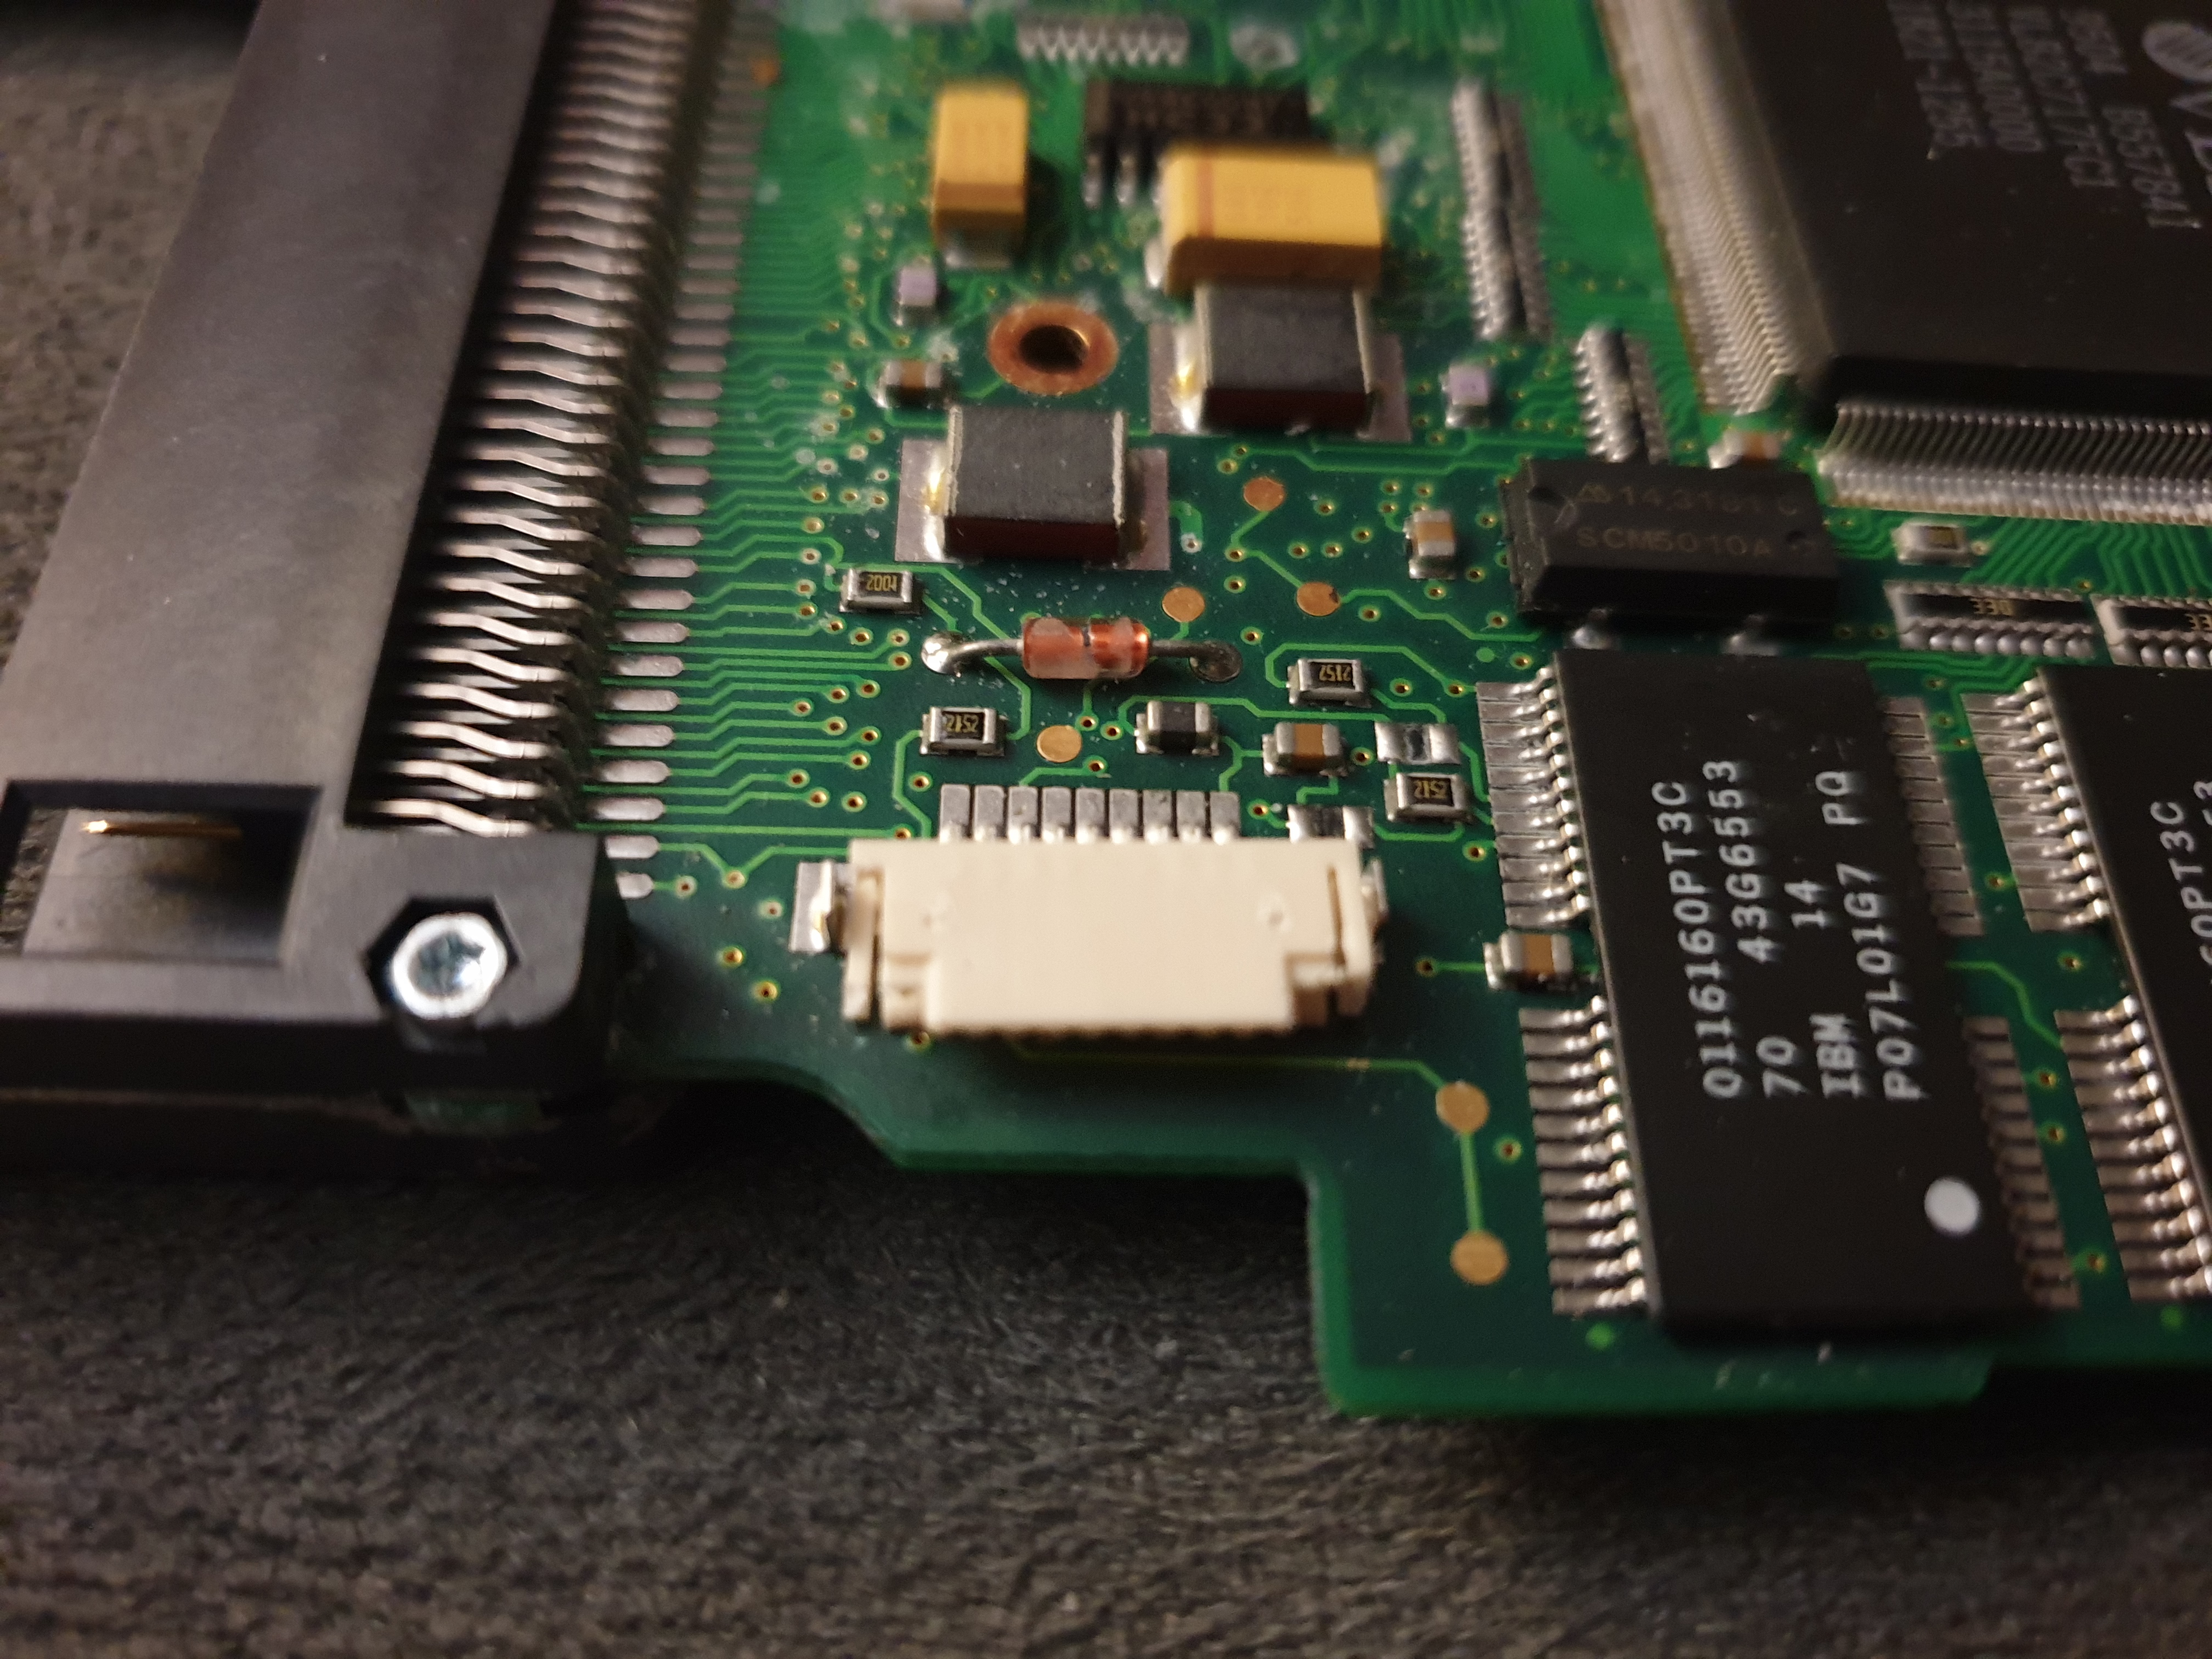
1) I had a serious issue with the keyboard ribbon cables - the tiny white plastic tabs easily break off or come out completely, and they are necessary to hold the cables in place. To make it even tougher, there's almost no additional length provided in the cable lengths. The left one has one of its retainers snapped off, so I will need to find a way to keep the ribbon cable in place - I tried disconnecting the ribbon cables from the keyboard itself in order to perhaps connect them to the motherboard and then later reconnect them in the keyboard, but they're not connectors on the keyboard end - the ribbons are part of the keyboard membrane. Also notice that the right keyboard connector is upside down - this means that the little white tab goes below the ribbon cable on the left side, and above the ribbon cable on the right side. The only part of the left tab you should be able to see are the two bits on each side that stick up; on the right hand ribbon you should be able to see the entire tab with its two protruding end bits facing down toward the motherboard.
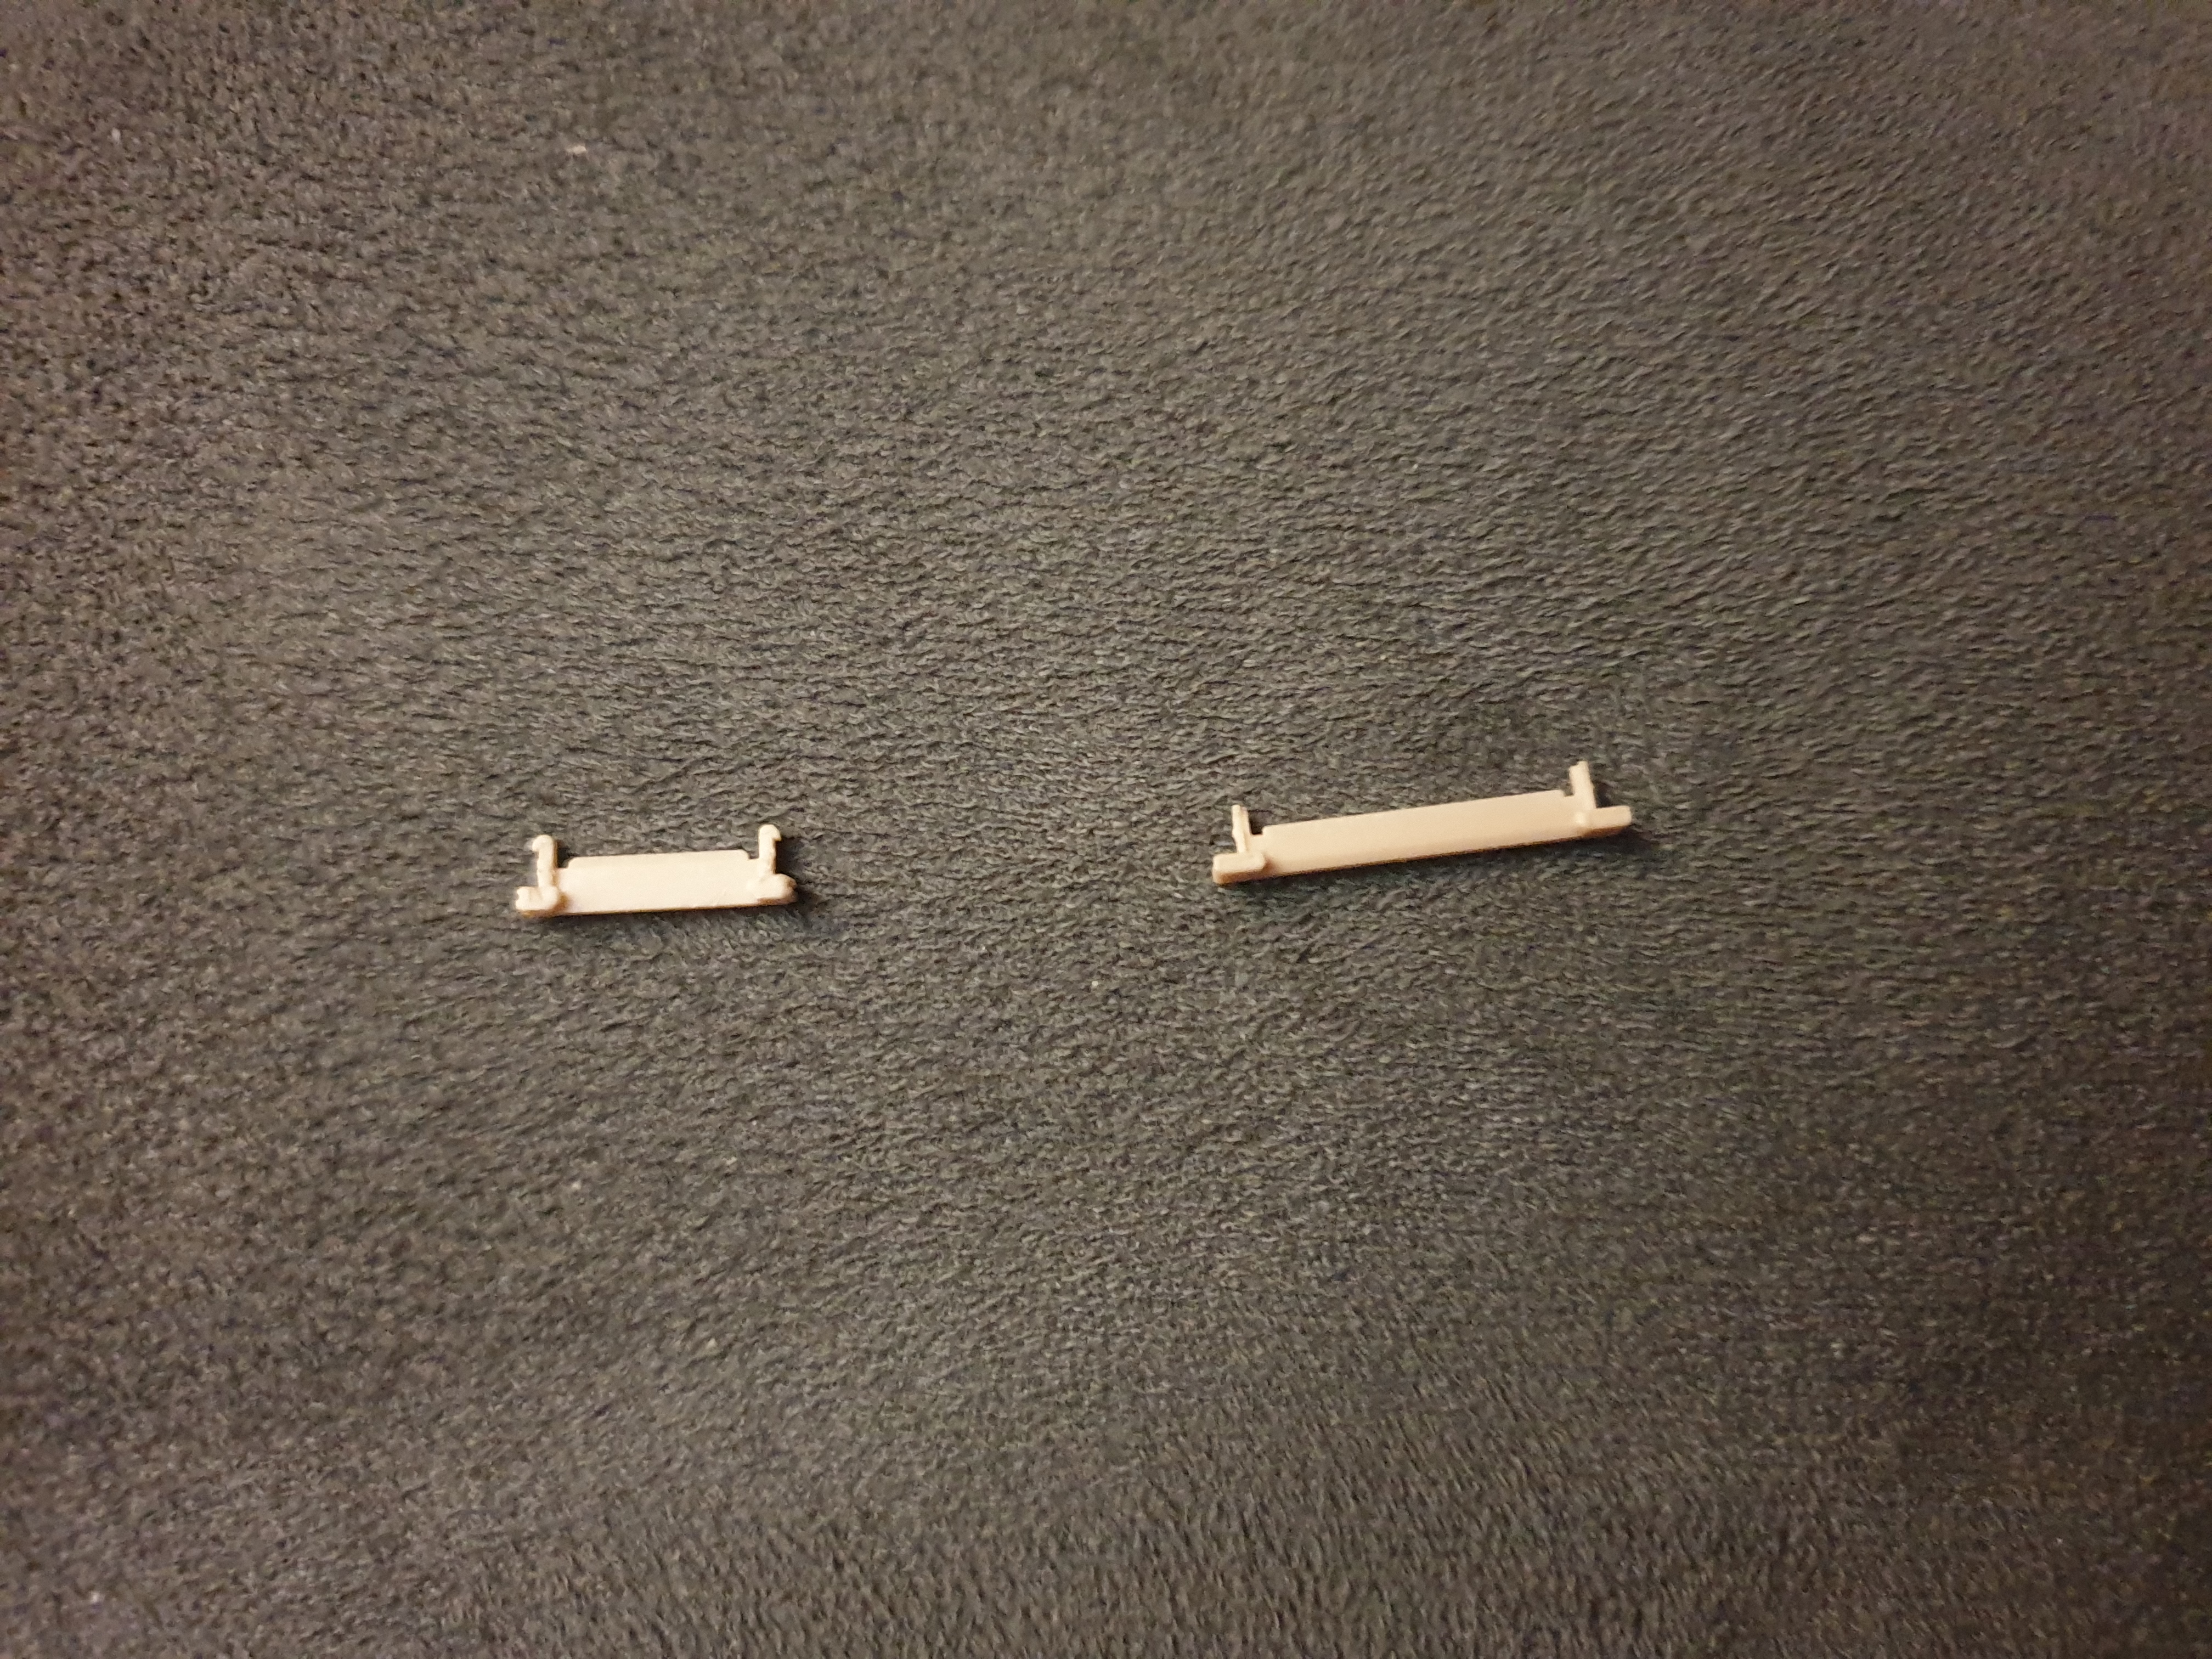
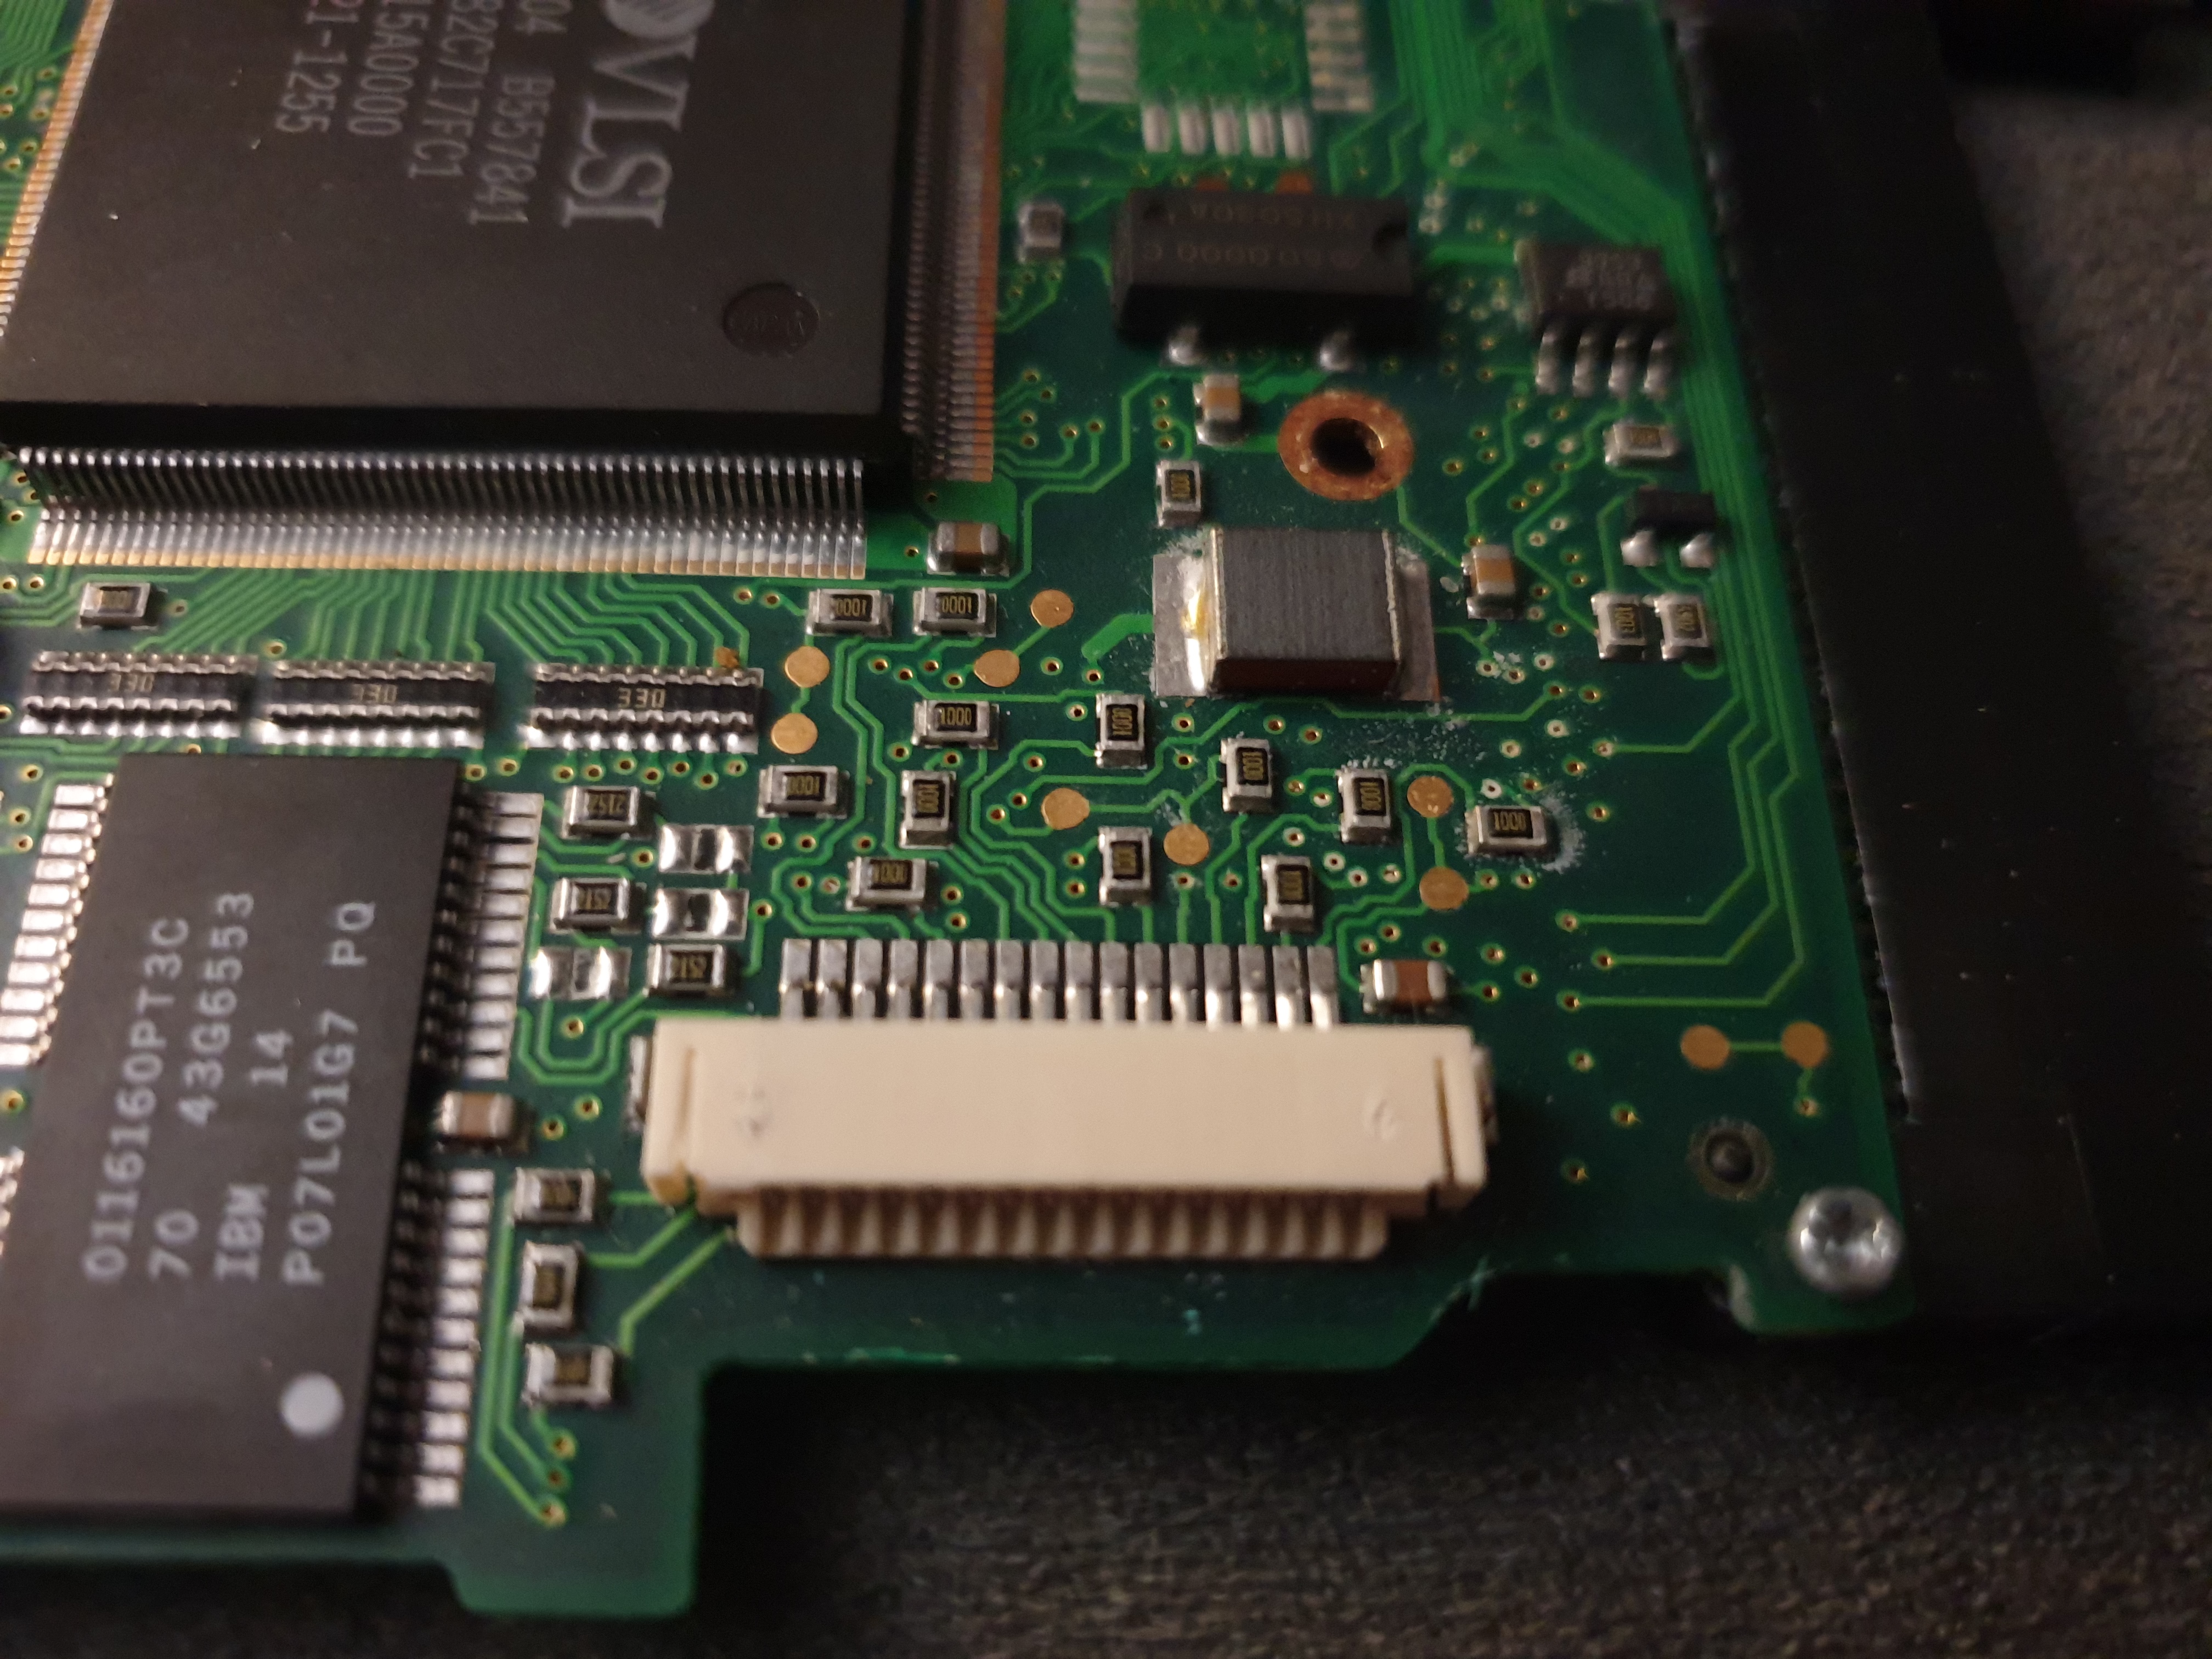
From left: the two ribbon cable connector locks, the left connector, and right connector
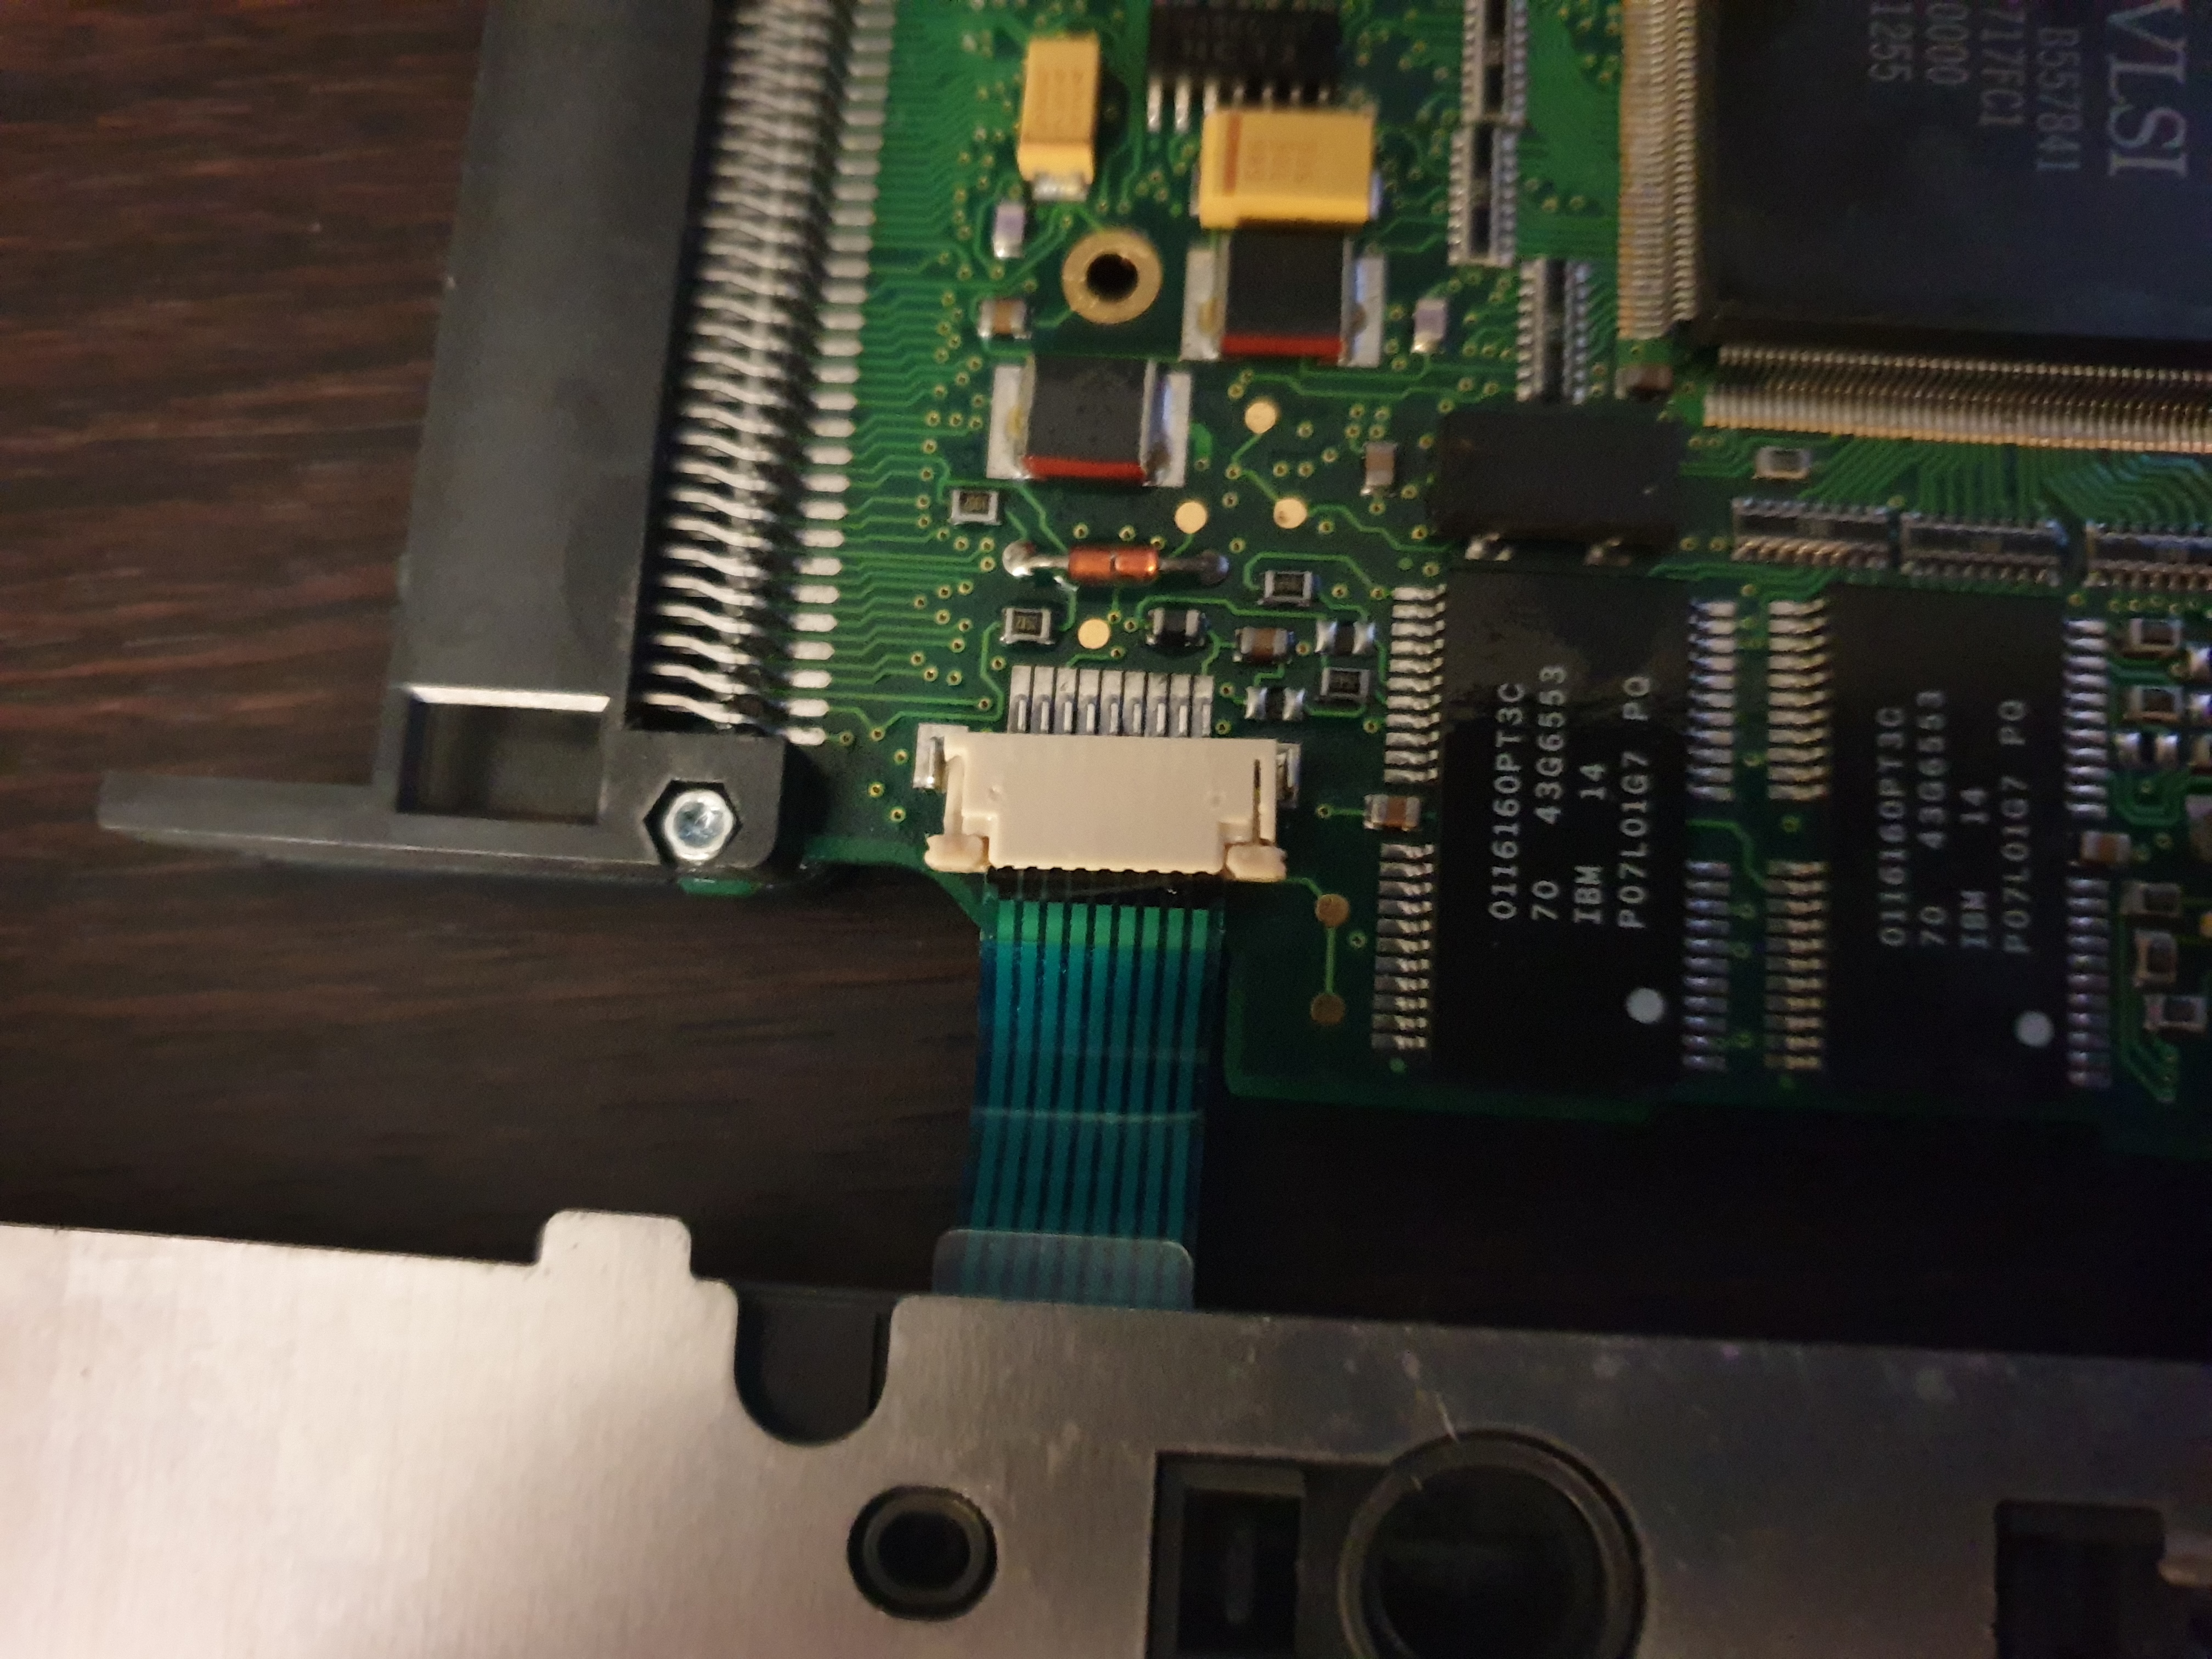
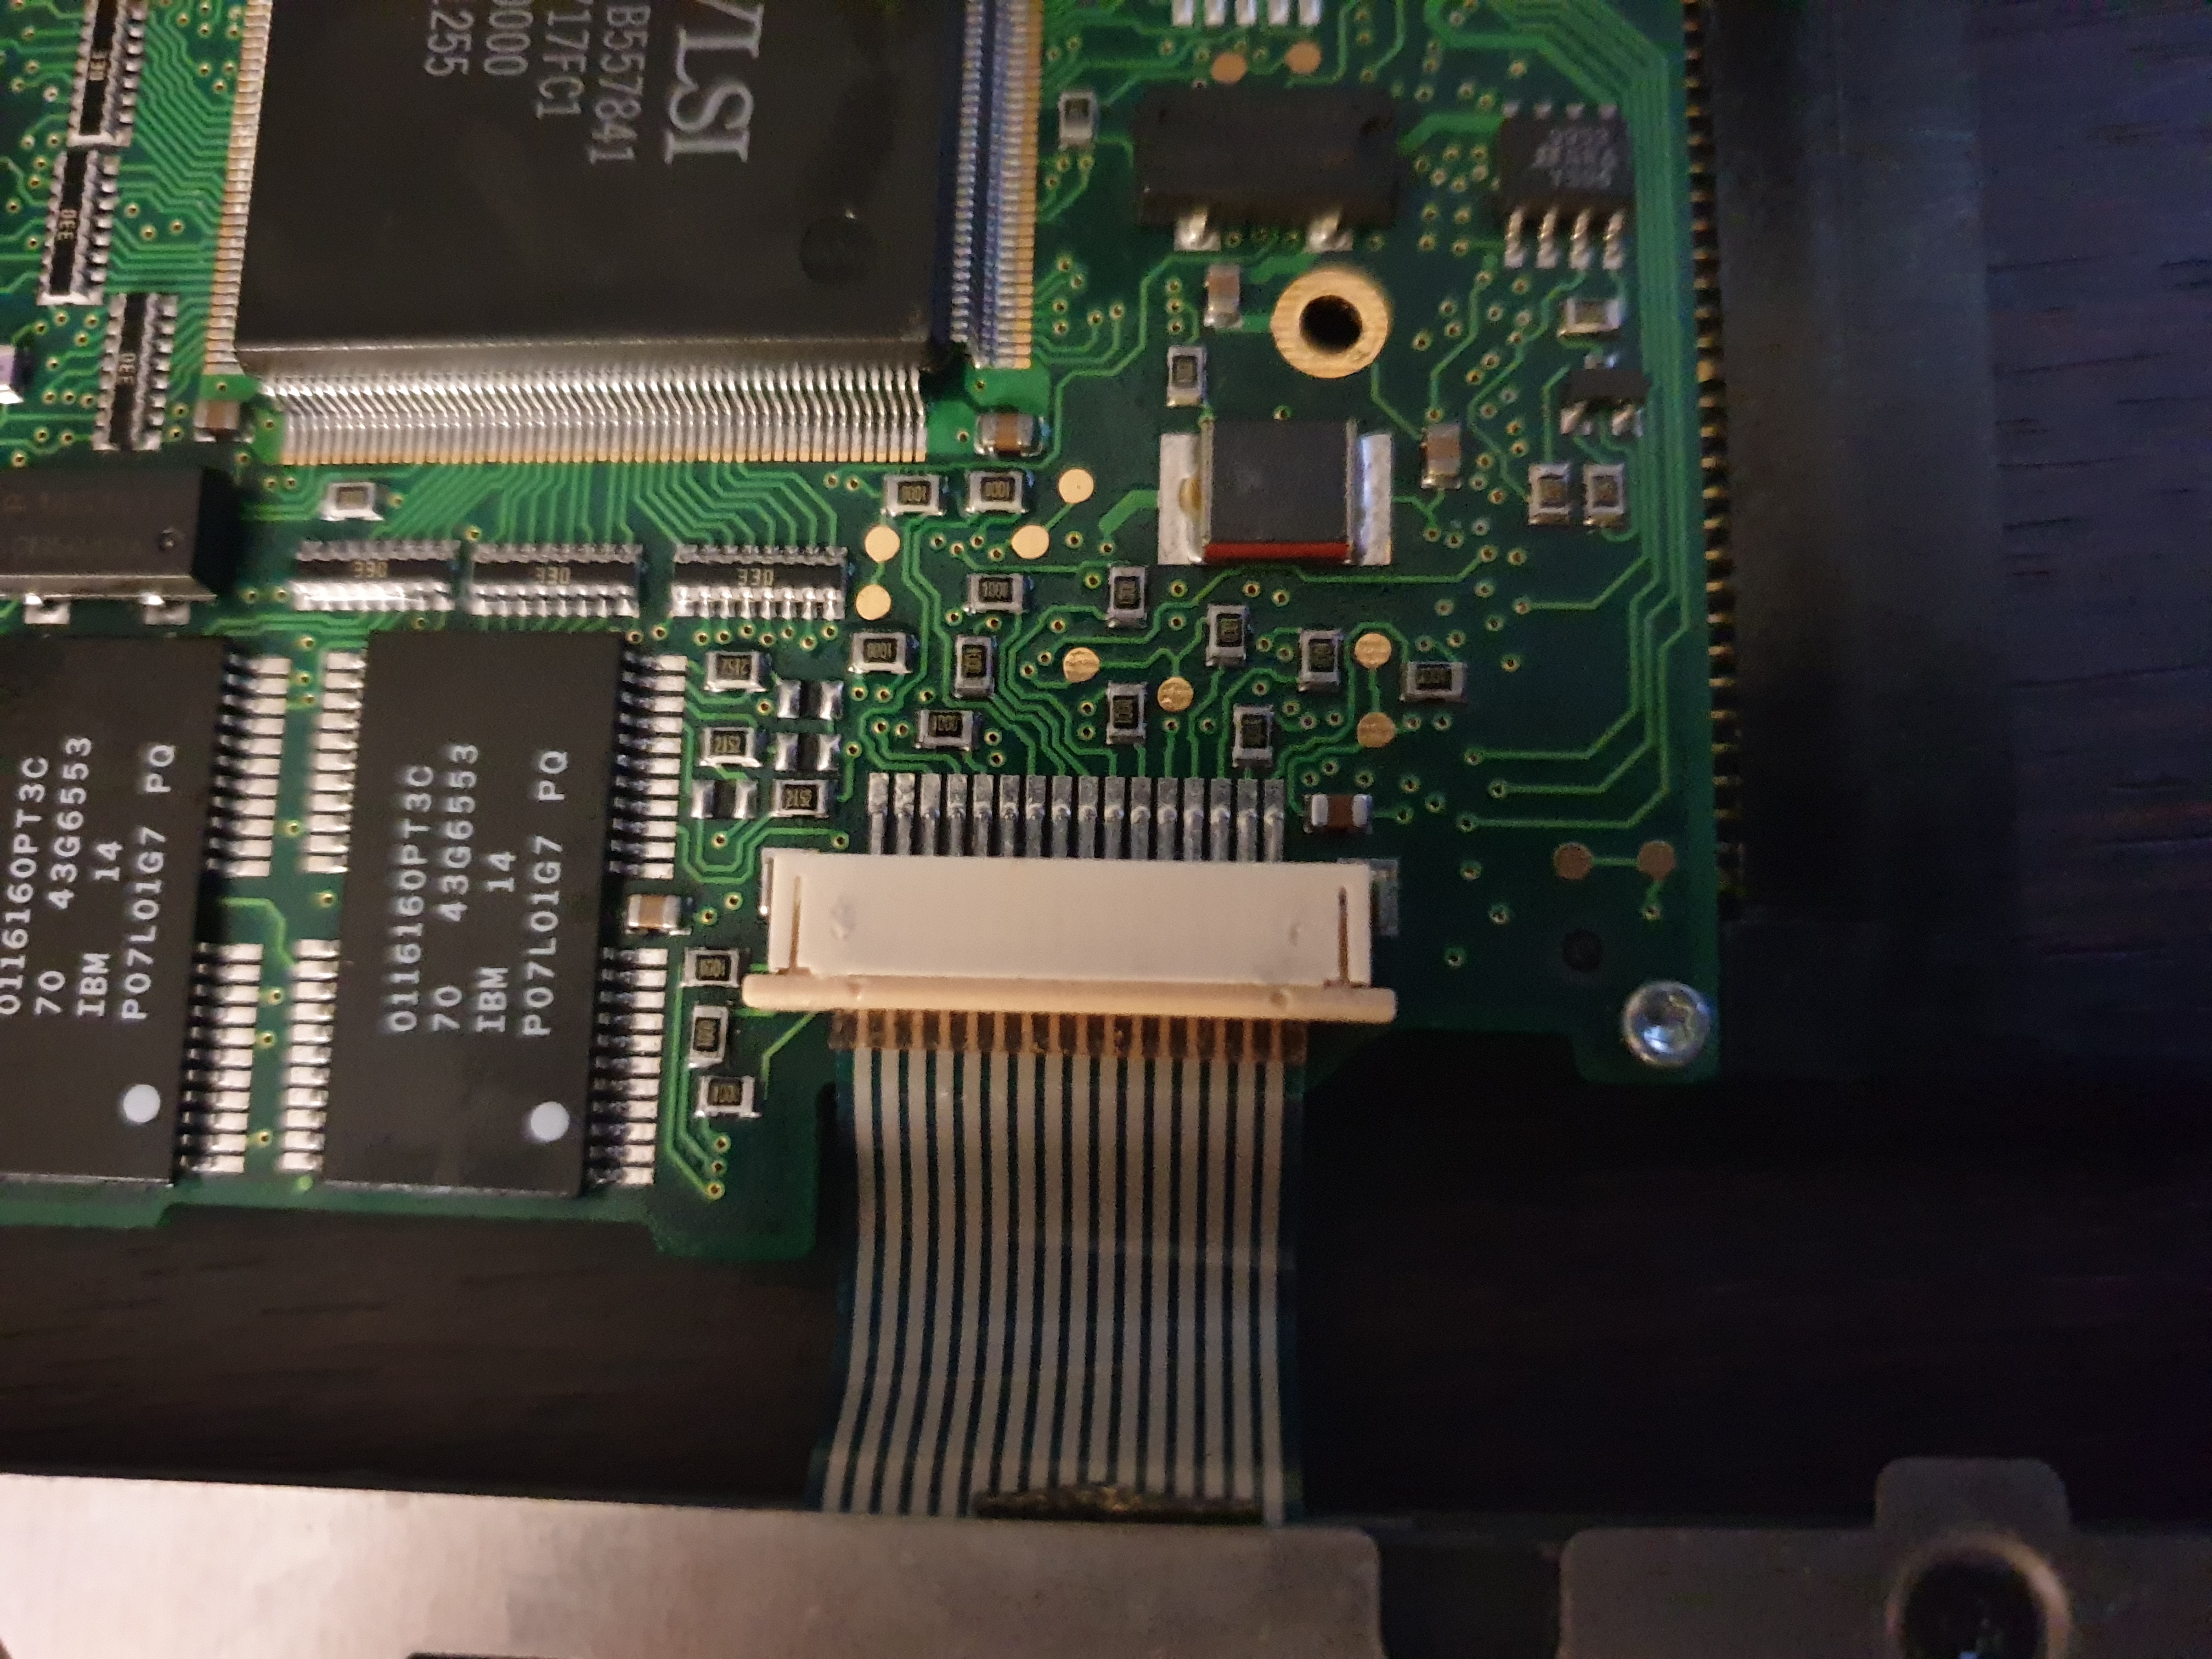
and here they are correctly connected (though with the motherboard out of the case!)
If any of your two plastic tabs have come away from the connector completely like mine, and you're trying to install the keyboard back in, the left one is best put in position first then slightly opened before you insert the ribbon cable. The right one is best installed after you've put the ribbon cable in the slot - then put the tab over the top and push the locking tabs on each side in to secure the cable.
2) I lost the mouse eject button spring (and found it again) - this lives in a black plastic recess just below where the button sits. As you're putting the case back together, be aware there may be times you knock the eject button - this little spring is tightly-wound and will easily launch itself out of its recess and ping somewhere beyond your immediate work area.
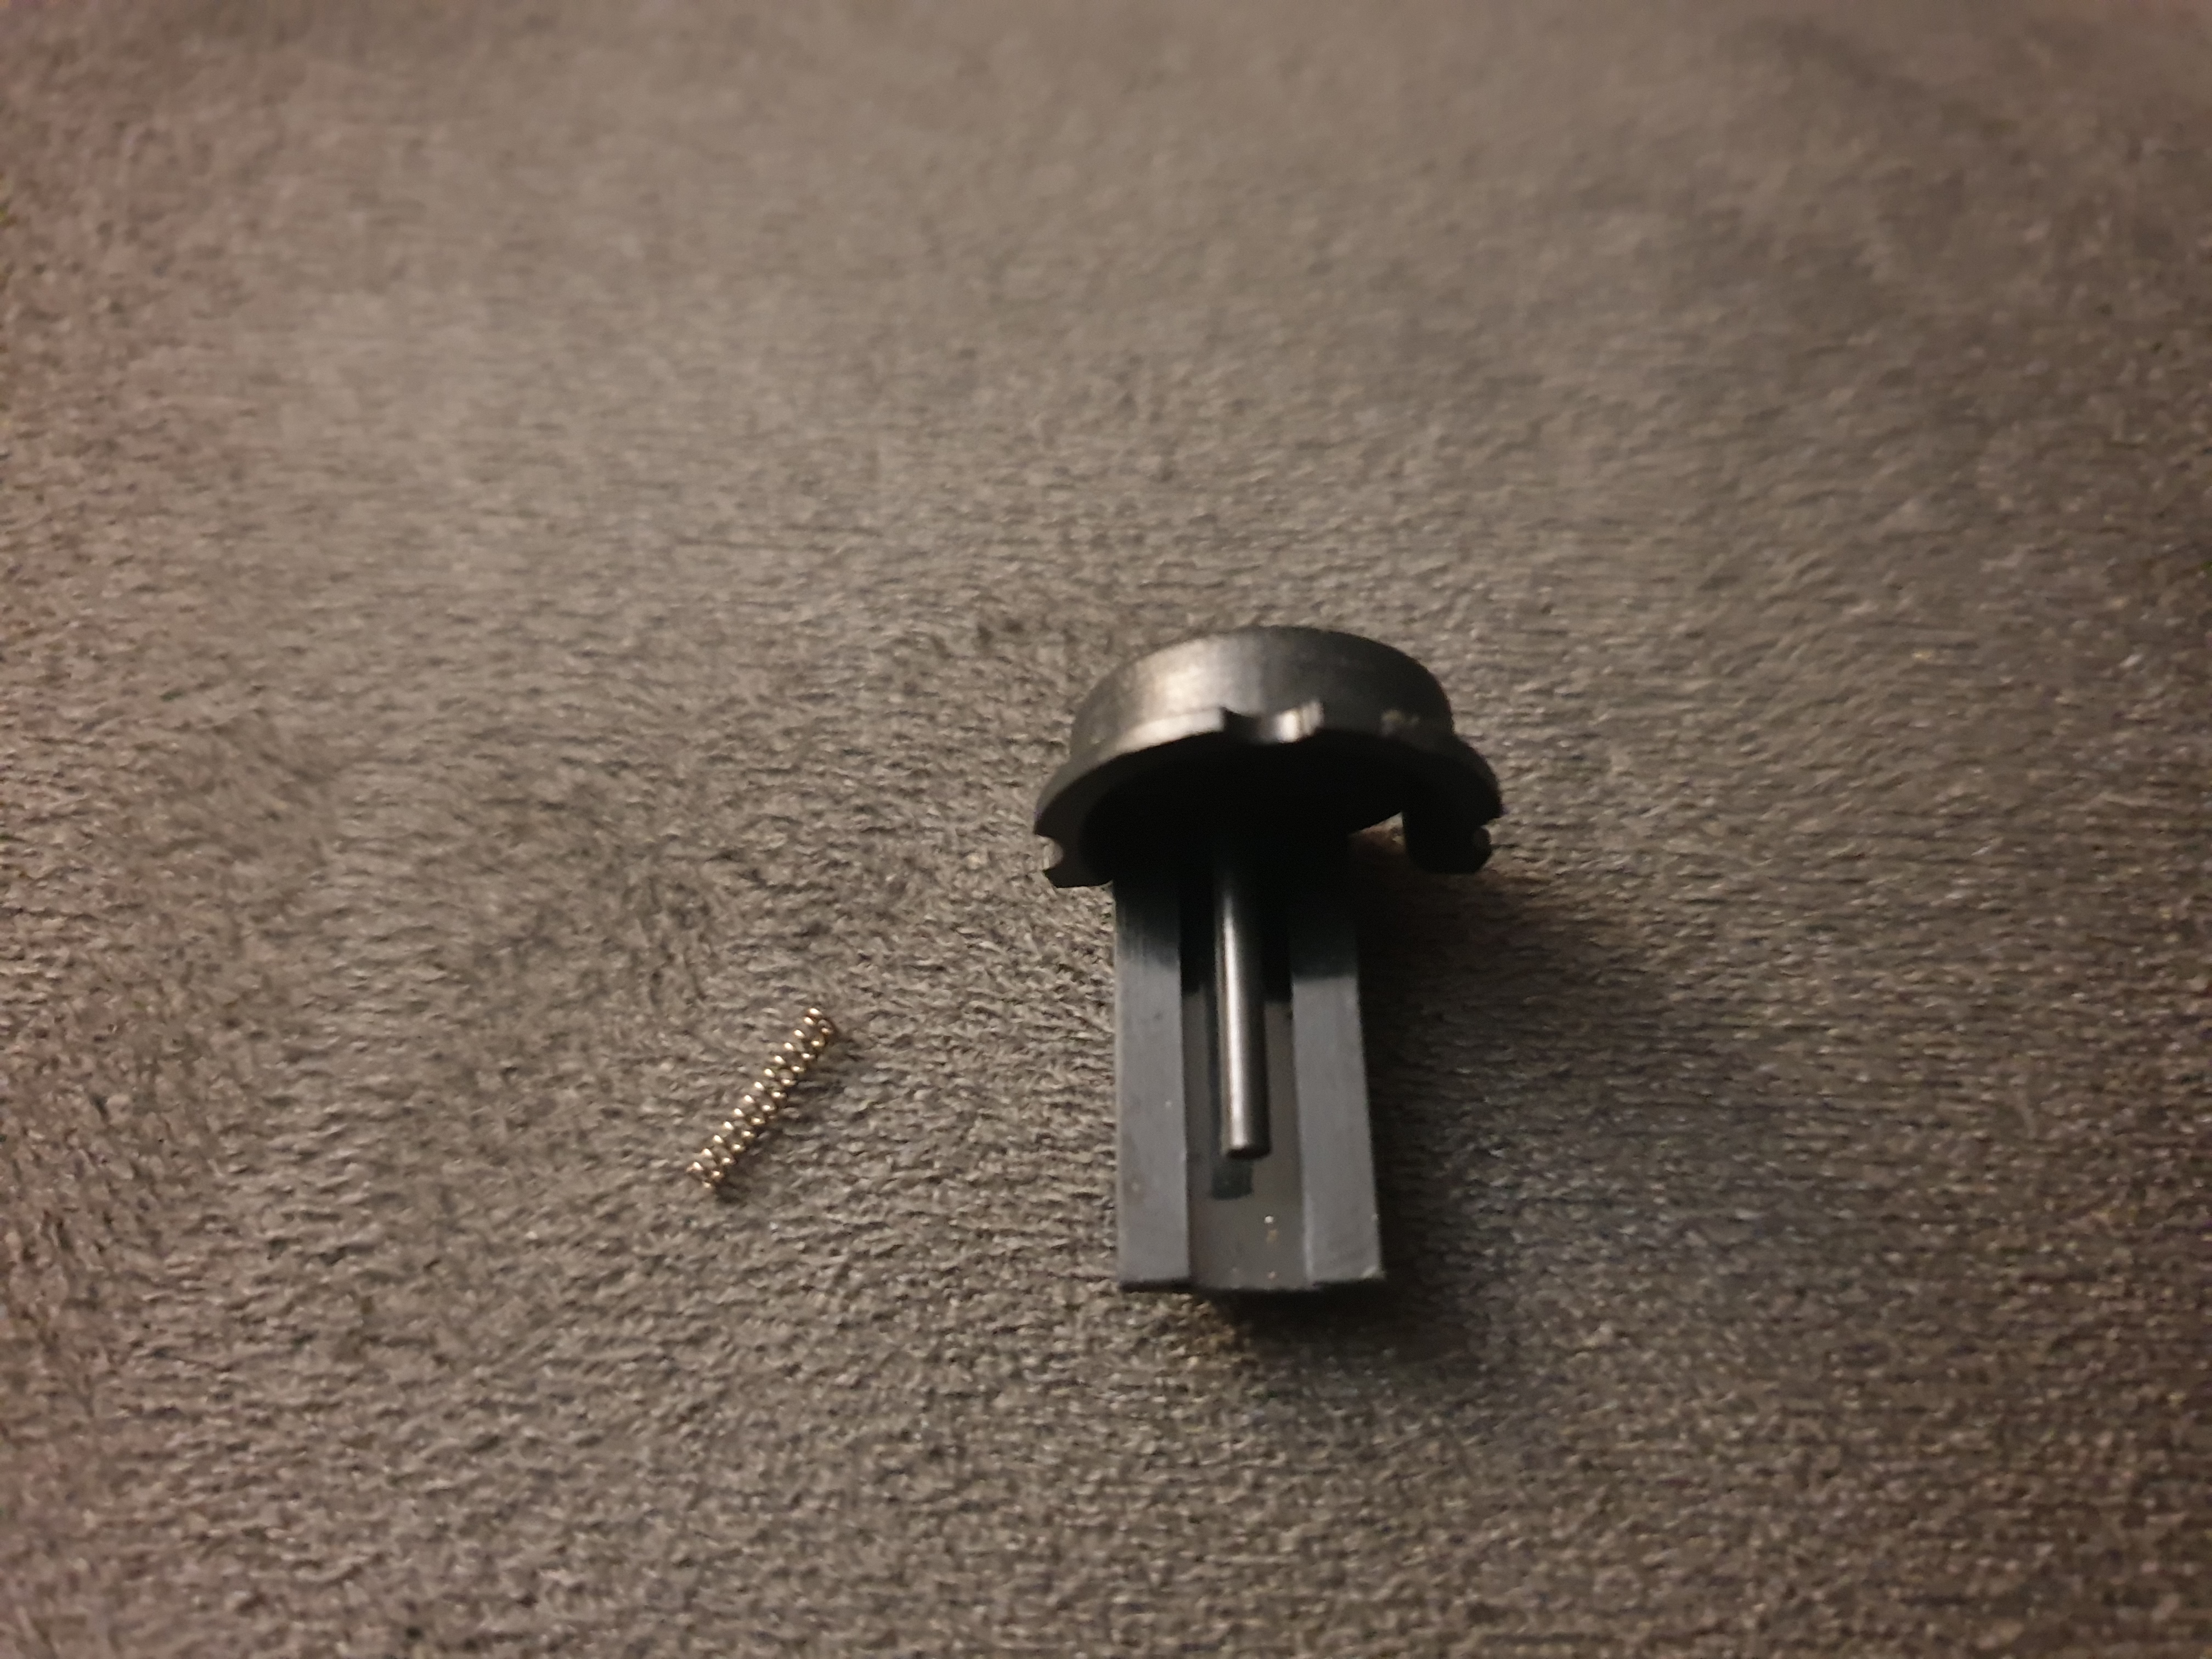
The mouse eject button spring and
button. The spring goes through a hole in the motherboard and into a black
recess in the bottom case, at the pivot point of the mouse circuit
3) Another part to be careful with is the PCMCIA spring-loaded door - the tiny spring can easily be lost:
The PCMCIA flip door and spring
Note that the OmniBook 600 will still attempt to power-on without a hard disk, floppy drive, mouse or keyboard ribbon cables installed. You won't get any error messages from the BIOS either, just this:
The BIOS is set to always boot from the floppy drive if it's present and contains a boot disk. I took the liberty when testing everything was still working to do just that - booted from the floppy disk I created in Part 1. You can download the bootable disk image of this at the end of Part 4.